

Always braise on low temperatures. The low temperature & slower cooking time helps to break down the tissues in the meat & makes tougher (and cheaper) cuts of meat turn out nice & tender.

The amount of ribs will depend on the number of people – figure ½ lb. per person.
Preheat your oven to 300°F.
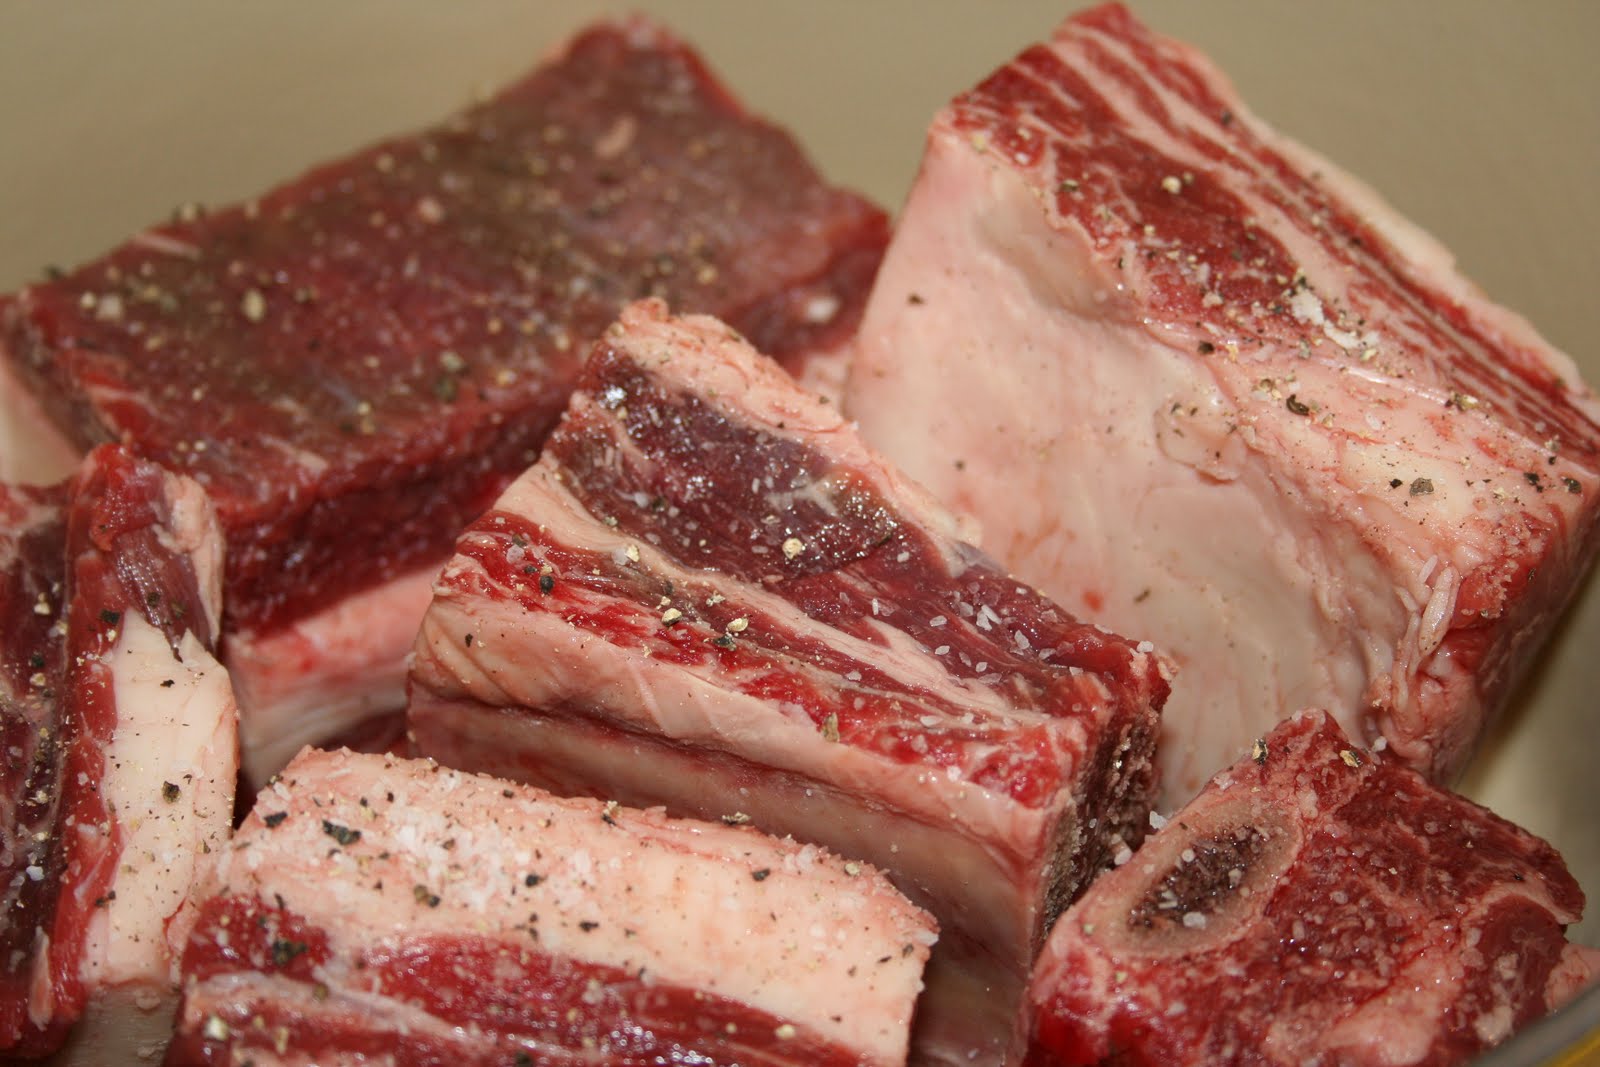
· Pat the meat dry with paper towels. This will help you get a nice brown crust on the meat in the next step. Sprinkle with garlic salt, onion salt + pepper.
· Heat a small amount of oil in a heavy-bottomed oven-proof braising pan or Dutch oven over high heat. When the oil is very hot, add the meat. Brown the meat for a minute or two on all sides. Remove the meat from the pan and set it aside.
· Lower the heat to medium and add aromatic vegetables like chopped onions, leeks, carrots and celery. You could also add a few cloves of garlic, peeled and crushed. Sauté for a few minutes or until the vegetables start to soften.
· Deglaze the pan with a flavorful liquid, such as stock, broth or wine (you can even use beer). I used beef stock. Scrape off any roasty bits (called fond) from the bottom of the pan and bring the liquid to a simmer. This liquid will add flavor to the braise. *The long, slow, moist heat of braising is the best way to soften tough cuts of meat.
· Check the level of the braising liquid. The liquid should just barely cover the meat. You can now add other flavorings and seasonings, like whole peppercorns or bay leaves.
· Bring the braising liquid back to a simmer, then cover the pan with a tight-fitting lid and transfer it to the 300°F oven.
· Braise for 1 to 5 hours, depending on the amount of ribs used. Figure about an hour per pound but check to make sure they’re tender.
· Remove the pan from the oven. Pour cooking liquid through a fine sieve set over a saucepan, discarding solids, and skim fat. If necessary, boil liquid to thicken it slightly, and spoon sauce over ribs. Or; to make a sauce or gravy from the braising liquid, first make a roux, then whisk some of the braising liquid (strain it first) into the roux until it thickens. Cook on low heat for a few minutes, then season.
Any remaining sauce would be great served over egg noodles.
Stock vs Broth – is there a difference?
Turns out that there is a slight but significant difference.
Stocks and broths both start off the same way: various kitchen scraps of vegetable, meat, and bone are slowly simmered to extract as much flavor as possible. For stock, it stops there — this is an unseasoned liquid that doesn’t taste all too great on its own, but makes a fantastic neutral base for soups, sauces, and other kitchen creations.
Broths, on the other hand, get some seasoning. We add salt, some other spices like black pepper, perhaps a splash of wine — all for the purpose of making this neutral stock taste delicious on its own. A more technical definition for broth would actually be “seasoned stock.” Now that the salt and other seasonings are added in, broth is tasty and satisfying.

You must be logged in to post a comment.