Food: Simplified

Maybe it’s a temporary phase but…

This is the first time that I’ve struggled with what to write about for my food post.  Pretty sad right? This coming from the woman who loves to cook, owns tons of interesting cookbooks and has tried almost everything and likes to be creative in the kitchen. This coming from someone who embraces food from every culture,  has made spices from scratch and then questioned why on earth afterwards.simple4
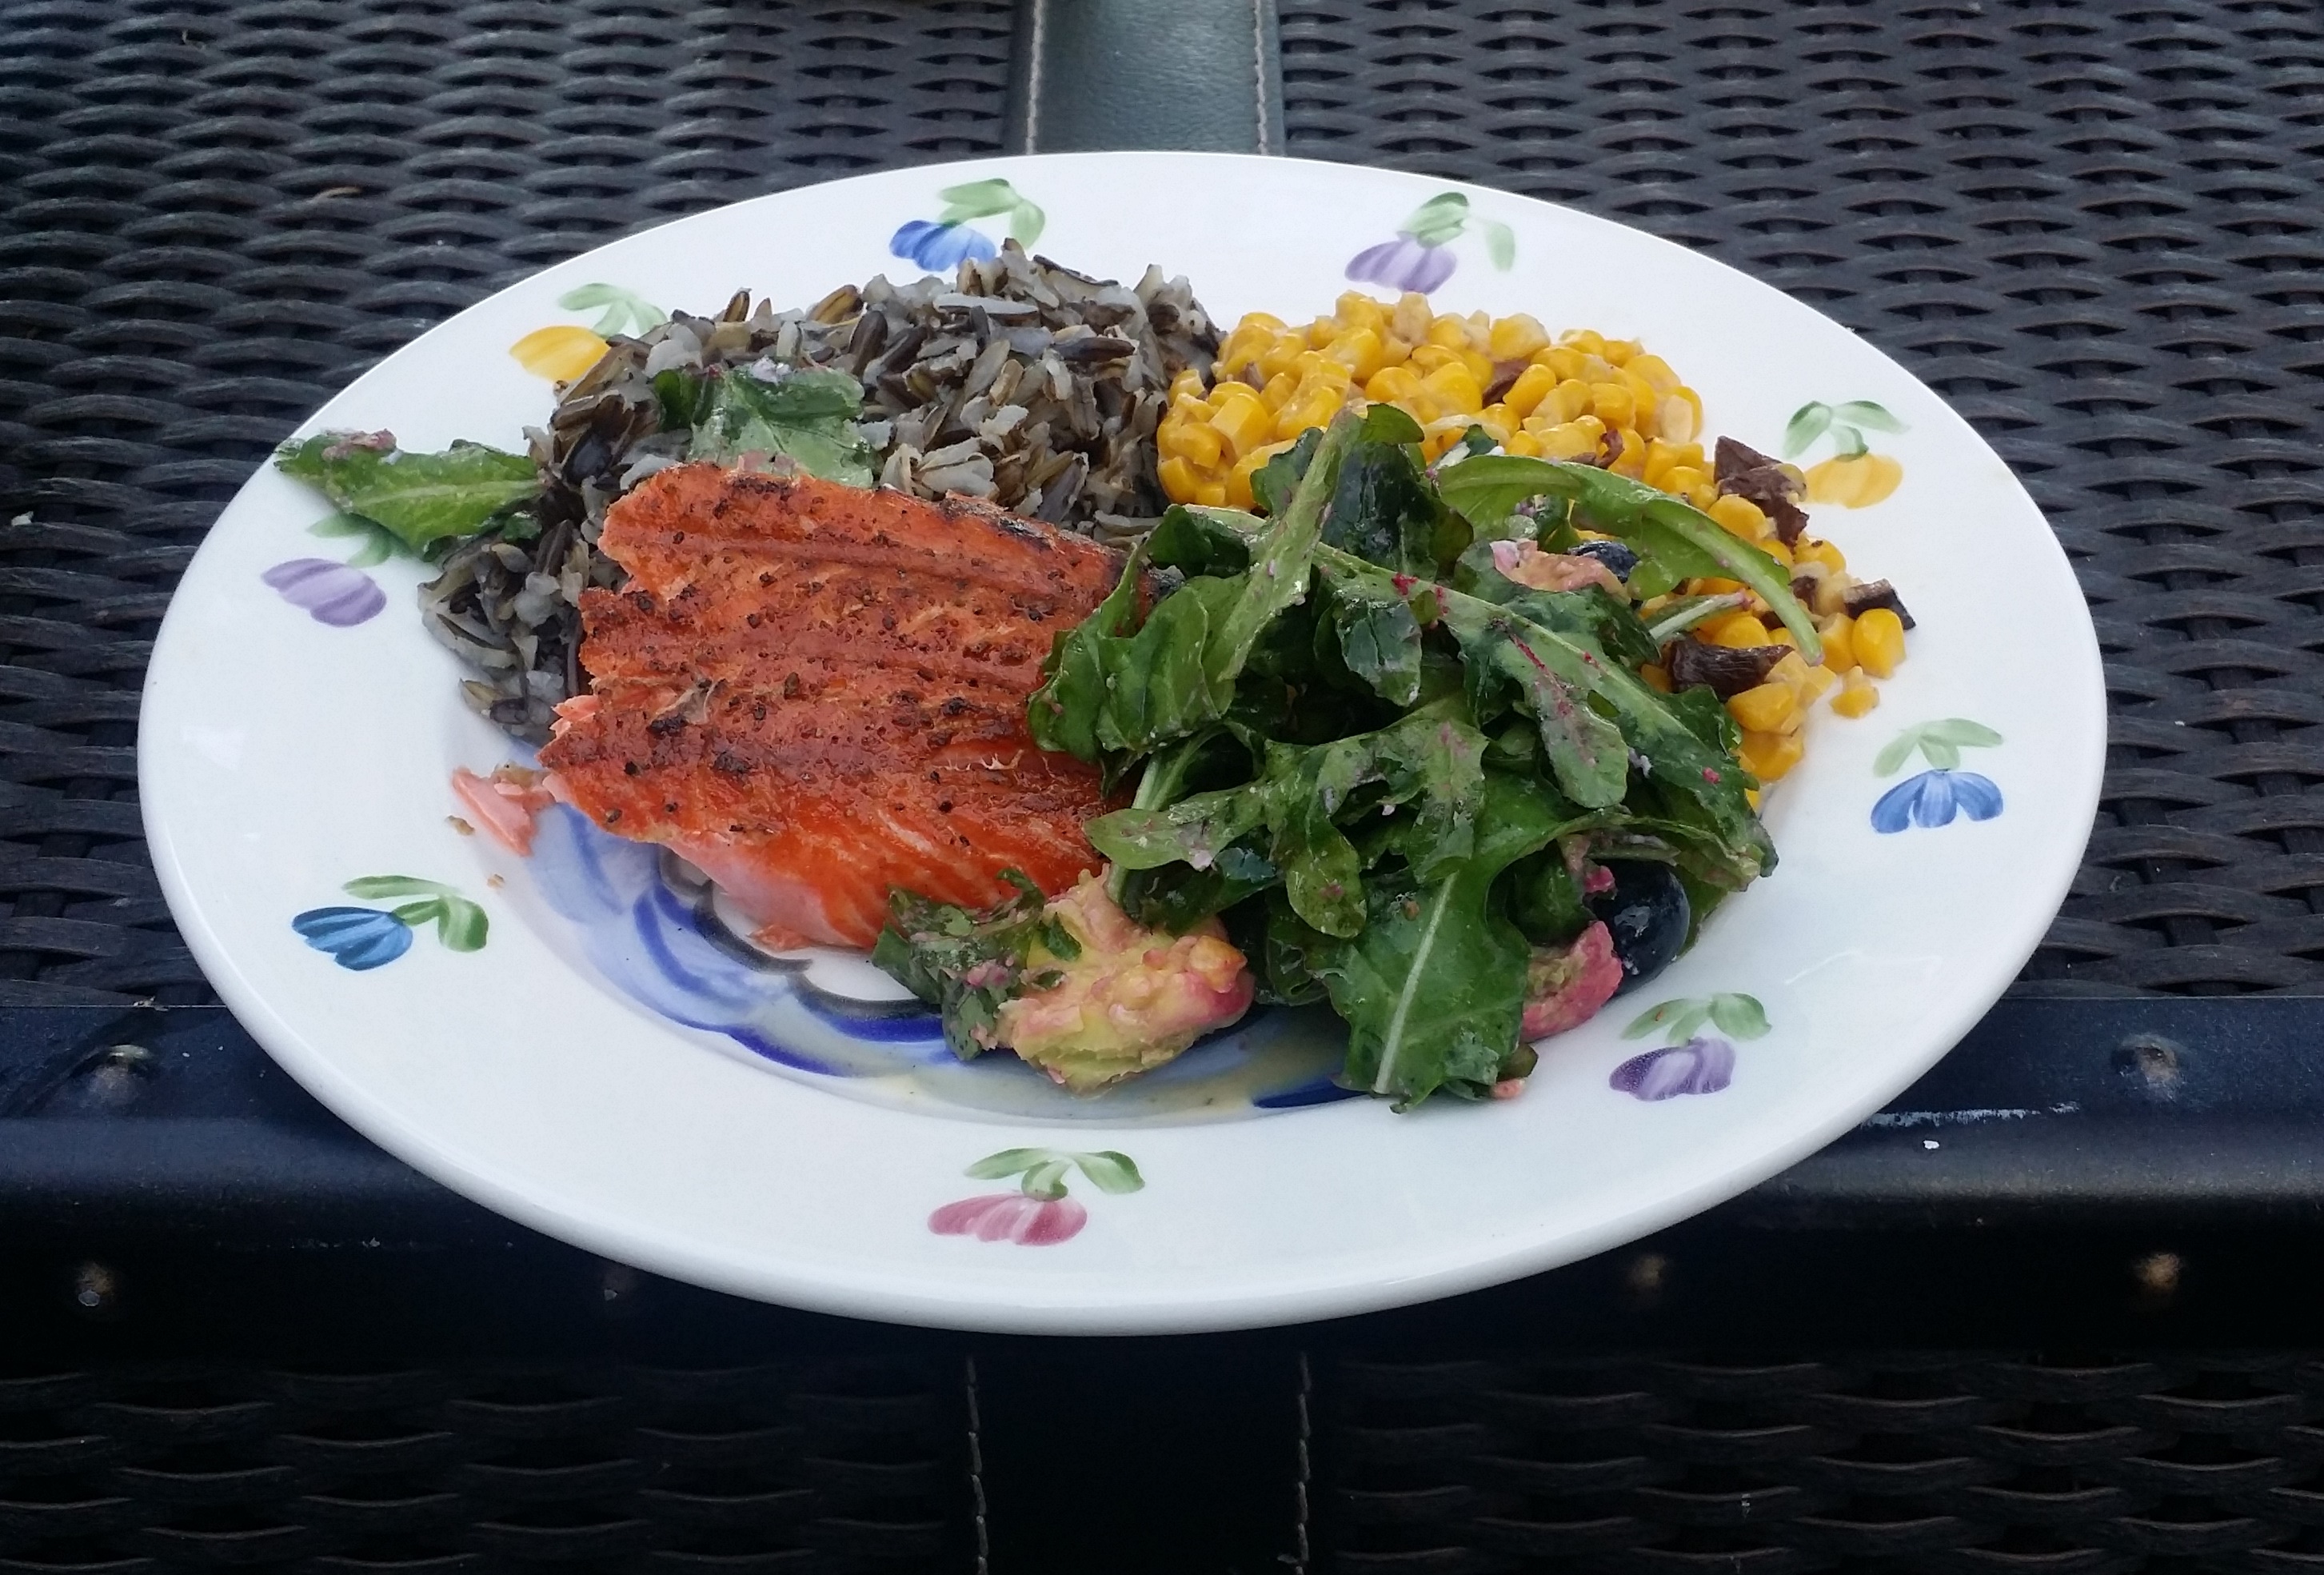
I just don’t want to throw any little thing at you for the sake of posting something. The recipes I post are ones I’ve made or at least appeal to me that I’m about to make.  And to be honest I’ve been cooking very simply lately and you know what…it’s great!  It just doesn’t make for a fantastic post so maybe I’ll just talk about food in general.  No, no don’t leave yet.  Let’s discuss.

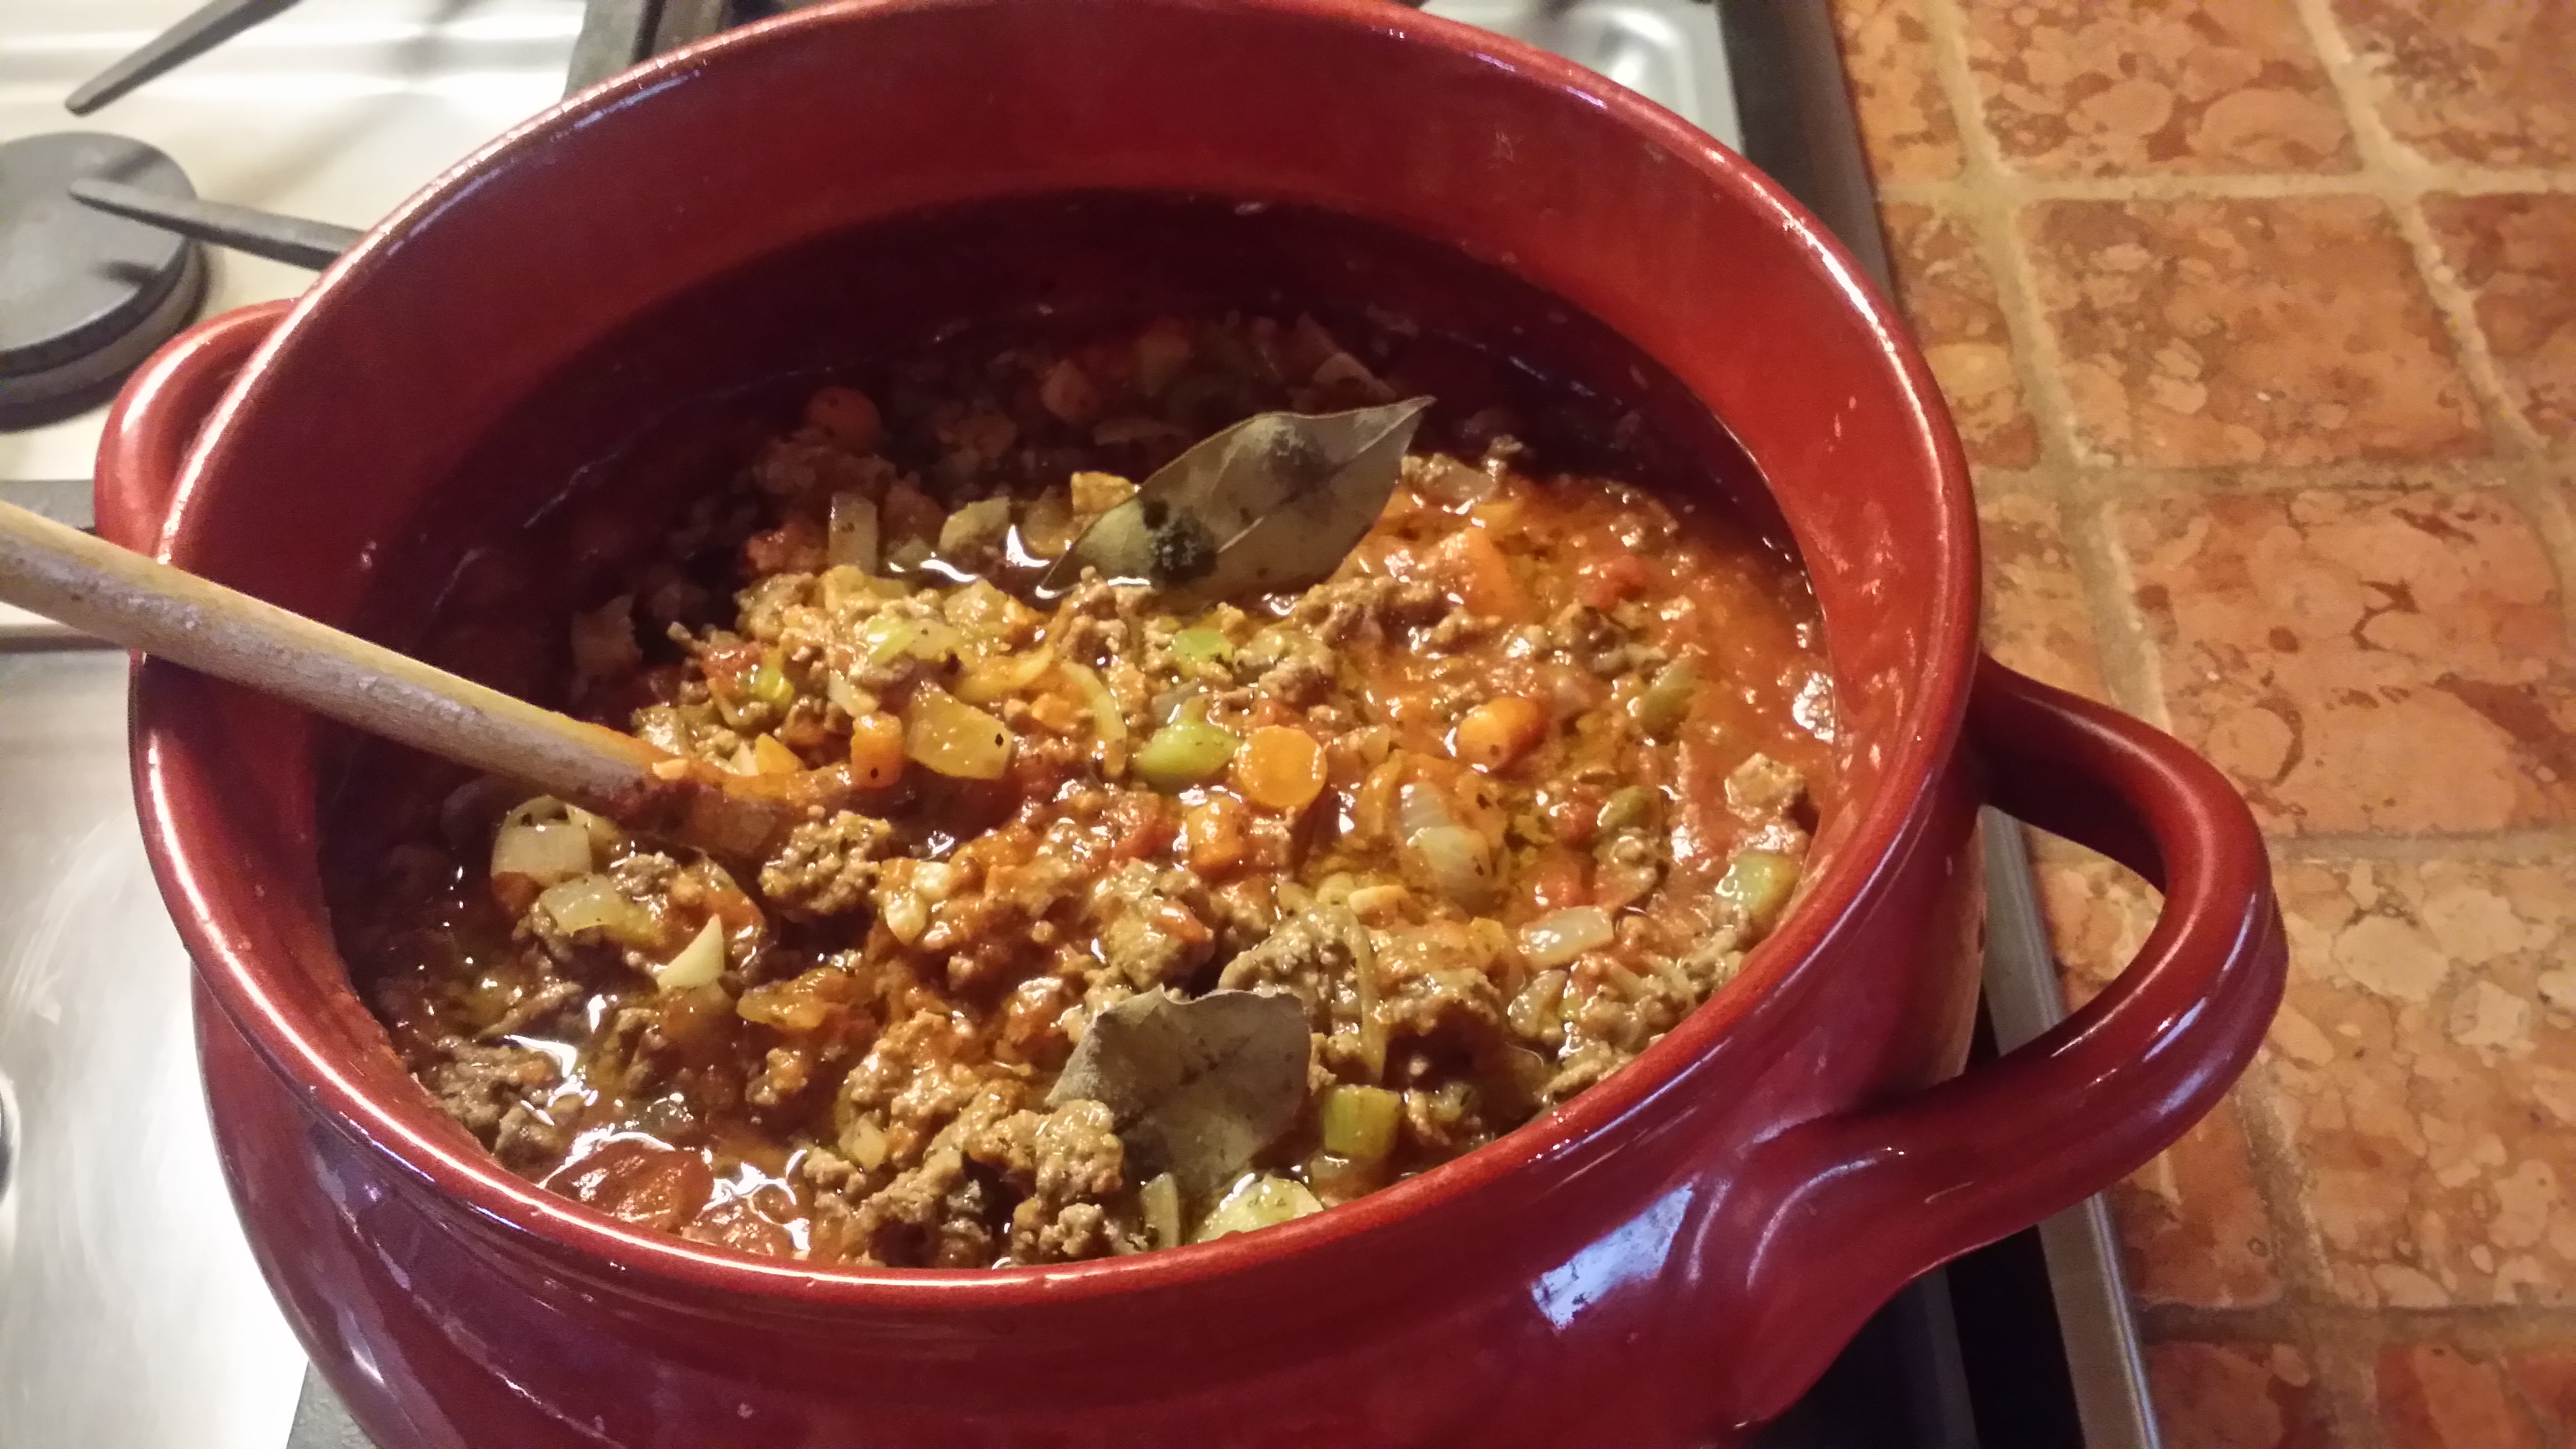
Quick cooking rarely comes from a recipe so much as it does from intuition and time spent mulling around in the kitchen.  So…simple6

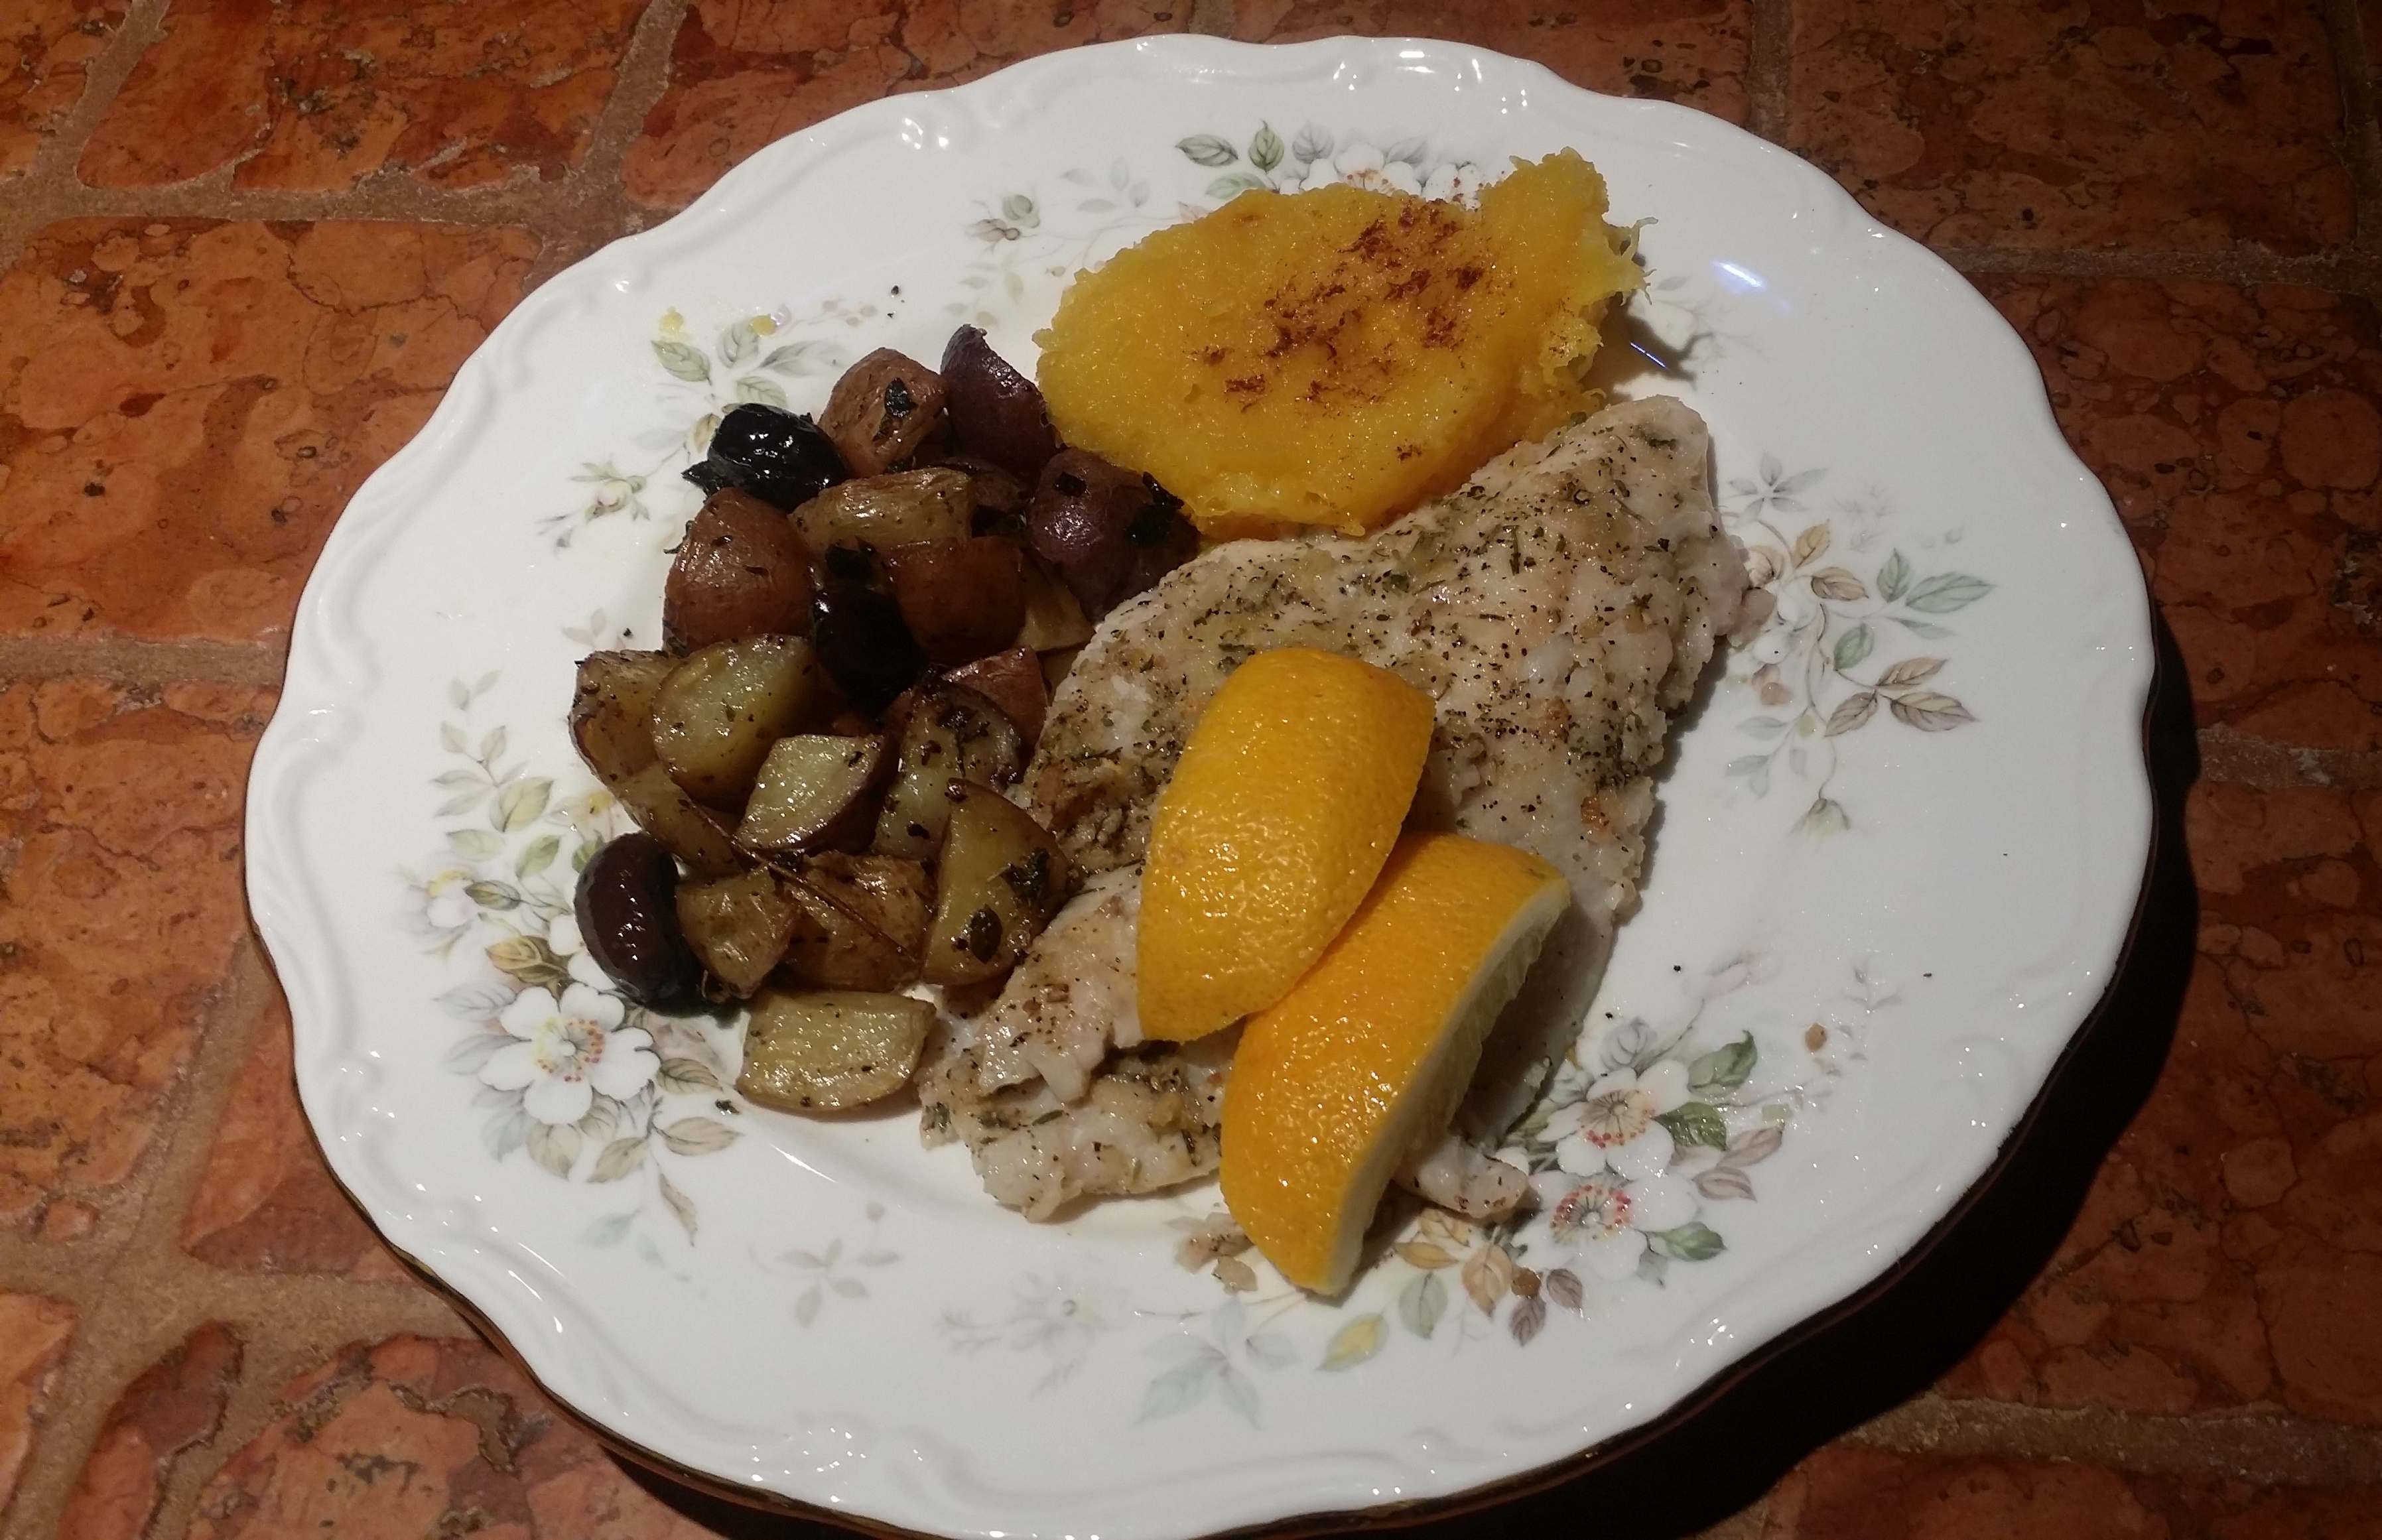
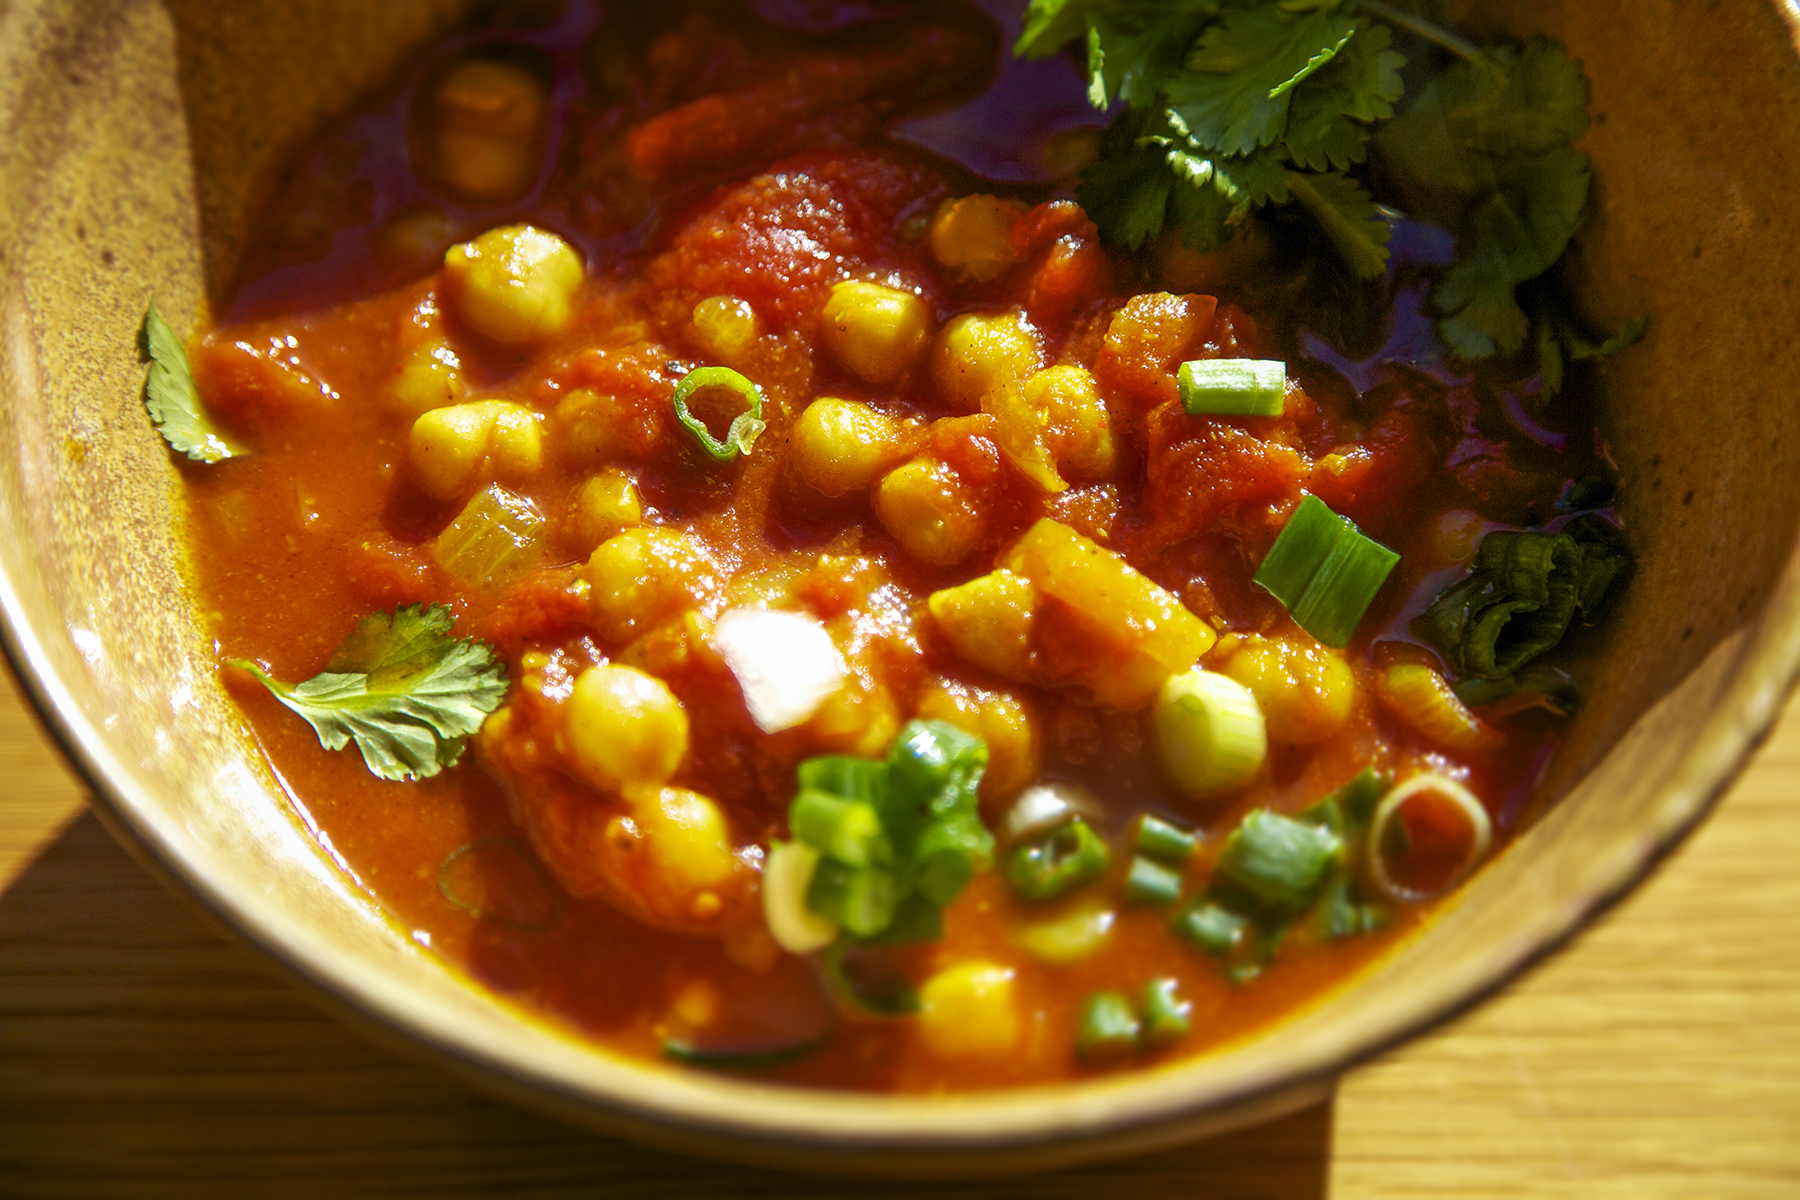
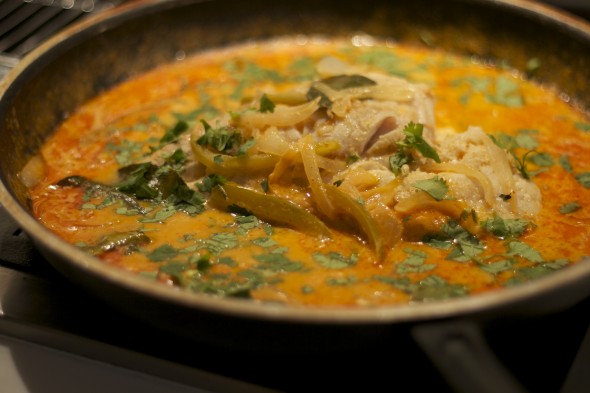
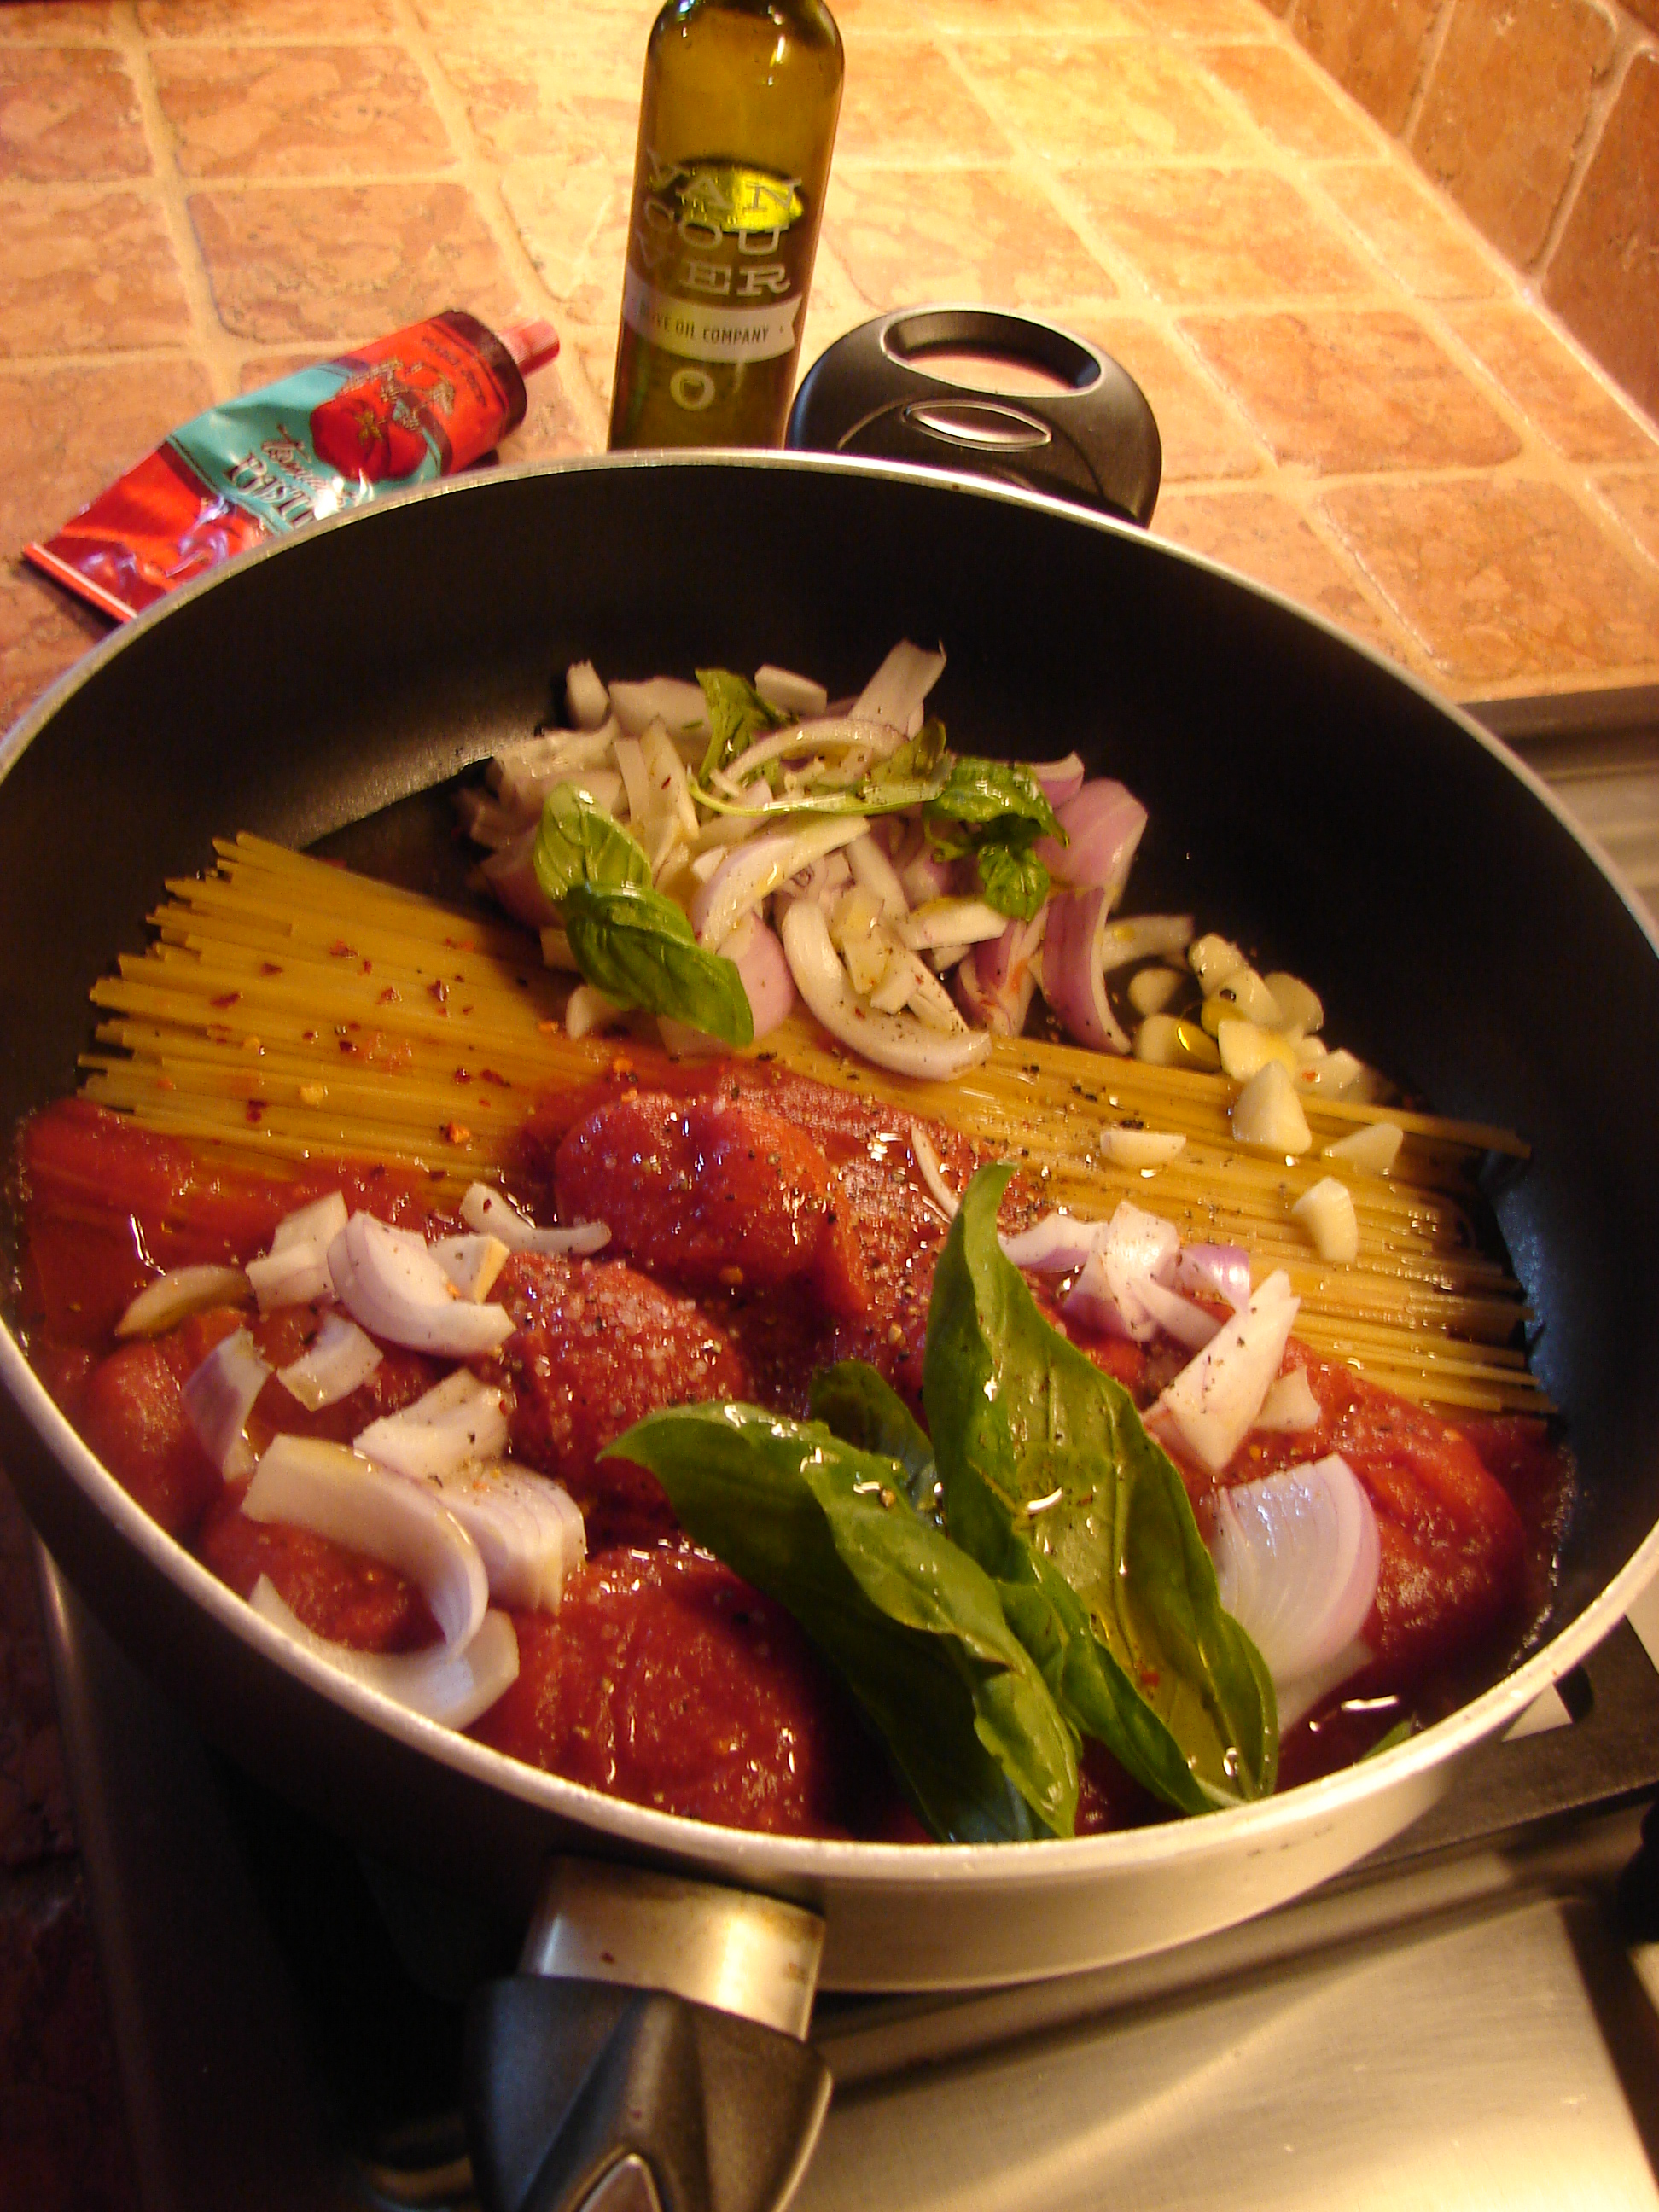
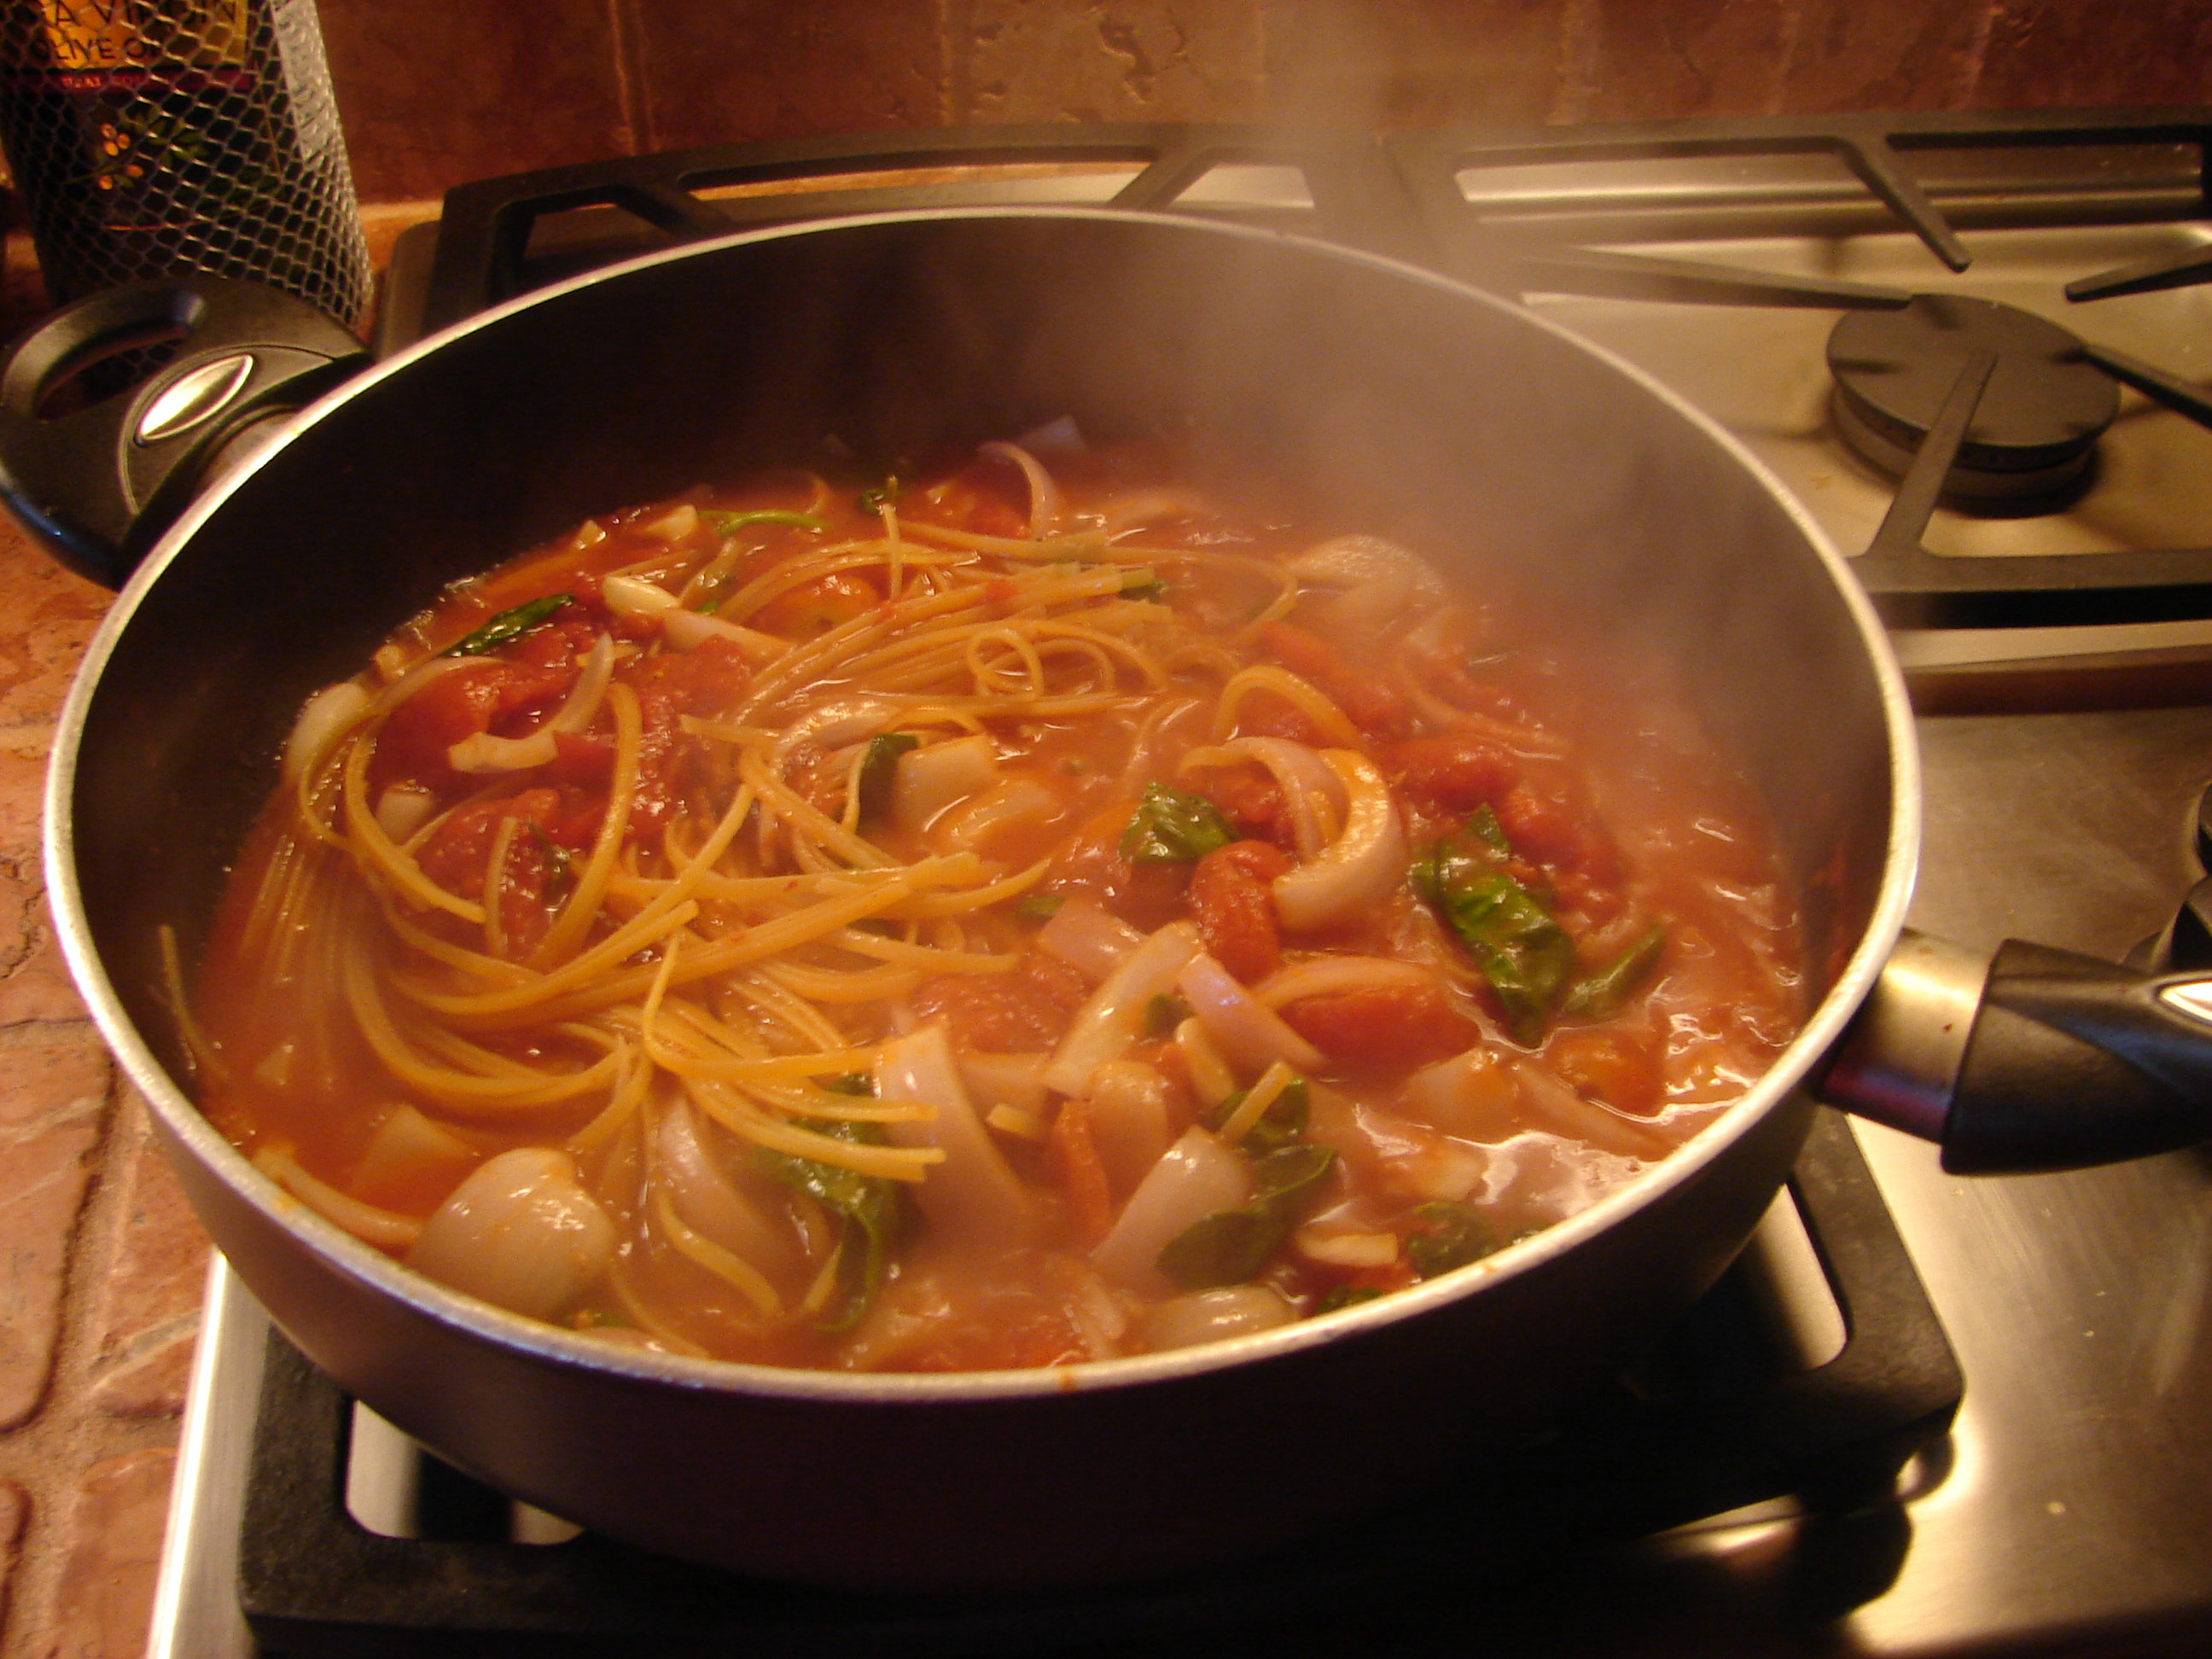
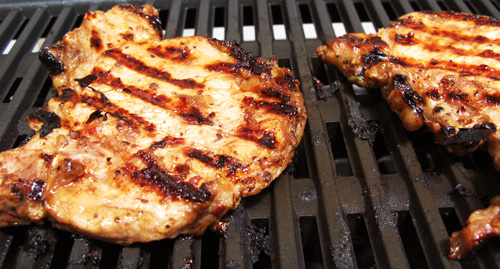
Instead of covering food in fancy sauces sometimes it’s nice to really taste the food itself.  I’m not so sure a simple cookbook would be a best seller but I do think people are going back to basics.  It feels healthier too. The days of Julia Child and her extravagantly rich sauces are lessening at least for me. For now.  Almost to the point of being boring but what I’ve discovered is that not only is it a breeze to make something with less fuss, but the taste is fresher.  Anything good does not require covering up. Let’s make one thing clear, simple doesn’t have to mean bland.  For instance, if you steam fresh vegetables like carrots which are naturally sweet you really don’t need to add anything else to them. Maybe a squeeze of lemon and that’s it.  Taste the vegetable itself. Also, it’s summer so we want things easy breezy where salads and barbeques are major. With steak you can barbeque just using salt + pepper but if you want to add more zing just add crushed fennel & smoked paprika along with s+p.  You only need a few good quality basics. Cooked properly with variety and colour on the plate is all it takes to make a meal more appealing.

?

On another note, I recently planned a surprise birthday party for my husband who hates surprises.  I really had to give some thought as to where to book a restaurant (it was on the same day as Fathers Day) for 10-12 people where everyone could enjoy something from the menu, be reasonably priced and have ambience.  Not so easy.  Anyway, I first chose a new trendy place which incorporated unusual food pairings.  But when I looked at their website it seemed almost too elaborate…and I think that men in general prefer a “real” meal instead of something showy.  So I changed it to another restaurant – something a little less formal where everyone ended up feeling relaxed and satisfied. Luckily, no complaints.  Except for the friend (and her friends) who arrived late.

They were celebrating Fathers Day having dinner at another restaurant – one that was on my Foodie list of  places to eat.  I heard wonderful things and have been meaning to go for ages.  Well….they all complained about the portions being way too small and in general were disappointed in the food considering the cost.  And they complained about it while filling up their plates with our leftovers (we ordered too much) as well as ordering more food.  Which brings me to my next question…

How do you enjoy your food in general?


Advertisement

Terracotta Clay Pot Cooking & BBQ

A new discovery.  Well for me it might be relatively new, but I believe it’s an ancient tradition having originated in Tuscany, Italy around 800BC.  It involves arranging food in a clay pot and sticking it in the oven.

Photo: d. king Hearty Bolognese Sauce
Photo: d. king
Hearty Bolognese Sauce

My pot resembles a beautiful large bowl. Until recently it was more of a decoration looking so pretty just sitting on top of a burner that I didn’t want to disturb it.  But I decided to do just that.  I was sure that anything this fine looking would make the food equally fine tasting. I felt inspired to actually try cooking with it and so be it!

I’ve been cooking like crazy with it and so far there has been nothing that has not come out other than superb tasting. I know the pot is mostly responsible for this so thought I’d share a few things about clay cooking because I’m not sure how popular it is.  I know that using a pressure-cooker and slow-cooker is more the norm but this is fantastic and since this is also a life/style blog it looks pretty impressive taking it out of the oven.

Photo: d. king Spanish Chicken Marbella
Photo: d. king
Spanish Chicken Marbella (served over wild rice)

“Hey I’ve got a great looking pot and something even better inside it – eat your heart out!” – d. king

Cooking in a clay pot is a lot different than cooking with other materials like ceramic or stainless steel because clay is porous.  In fact, just to be on the safe side I soak the whole pot (lid and all) in water for about 20 minutes before using it.  Then, when all the ingredients are inside, I place the pot in the oven before turning the oven on so everything warms up gradually.

The lack of enamel or glaze means the hard-baked clay “breathes”, enabling water to be absorbed and then released during cooking to achieve moist, intensely flavourful results with little to no seasonings. The slow, steady evaporation of steam from within the clay pot’s unglazed pores and the double sealed lid is what makes this possible.

Slow cooking is so much faster using a clay pot.  It cooked the contents inside set on a low oven temperature of 300F evenly and flavourfully in all of one hour. Unbelievable!

Safety: most risk of lead contamination comes from glazed, ceramic dishes and pots. Make sure your clay pot is unglazed and has been certified by an independent third party lab as lead-free and that no chemical treatments have been applied to the clay during manufacturing of the clay pots.  Then enjoy experimenting with them!

Have you ever cooked using clay?  If so, share your thoughts?

Judgment day:
barbeque

My experience as a black box judge in the “creative category” from competing teams at a barbeque fundraising event where the winner received thousands of dollars in prize money along with bragging rights. Sponsored by the Kansas City Barbeque Society:

From Farm to Table

FARMThis happened on Sunday out on a farm with lots of people and great live music. It was an interesting experience because all the cooks and organizers take it quite seriously. Southern style BBQ is a technique in which meat is cooked at low temperatures (about 225F) for a long time over indirect heat.  No gas/propane allowed, the heat source is charcoal and wood. Judges were briefed beforehand and there was a follow-up discussion. Each competing team was given a time limit and received four mystery ingredients to be incorporated into a single dish and submitted to the distinguished panel of judges (at least that’s what was printed in the event schedule, ha!) where points were awarded based on originality, taste, texture and presentation.  I was sitting in between the owner of a winery and a man who is almost certainly a professional food judge who had lots of stories.

 The four main ingredients were pork loin, duck breast, dried tarragon and sushi rice so you can only imagine.  Quite impressive what the participants came up with!  A little glimpse into the world of what it must be like to be on one of those cooking shows – nerve wracking but challenging to have to come up with something under pressure. The real meaning of pressure cooking!  I think I awarded points very fairly although I was a tough critic.

So tonight I’m making something with no more than four ingredients……to witness what turns out! A challenge to myself – no award $$$, possible bragging rights!

Photos: d. king


Simply Satisfying –   gluten free CHOCOLATE ALMOND TORTE

torte1Also known as Torta Caprese (named for the island of Capri from which this recipe originates).

If you like chocolate with almonds you will love this flourless recipe.  It is simply delicious and fairly easy to make.  You might ask, what is the difference between a torte and a cake?  The answer is nothing because the word “torte” comes from the Italian word “torta” which means a round bread or cake. So it is in fact a cake.  In Europe, most cakes are called tortes.

When comparing tortes and cakes, you will notice that the cake is lighter than the torte. Cakes are made with cake flour which makes them very light because of the gluten content of the flour. You’ll find that tortes are denser and richer therefore a smaller piece should be enough to satisfy.

Ingredients:

1 ¾ sticks (7/8 cup) unsalted butter

7 ounces (1 ¼ cups) blanched whole almonds

6 ounces (170kg) of the finest quality bittersweet chocolate (not unsweetened) you can find.  I use Callebaut.

4 large eggs

1 cup fine coconut sugar (original recipe calls for granulated sugar)

Garnish with confectioners’ sugar (I sprinkle it over the cake with a fine sieve) and serve with whipped cream & berries. I like using raspberries because they have a sharpness which marries well with the sweetness (but it is not overly sweet) of the chocolate.  They also add prettiness to the final presentation.

Preheat oven to 350F and butter a 10-inch cake pan.  Line bottom of pan with a round of wax paper and butter paper.

Melt butter and cool.  In a food processor finely grind together almonds and chocolate.

Separate the eggs – yolks from whites.

In a bowl with an electric mixer beat yolks with sugar until very thick and pale, then beat in almond mixture with butter.

In another bowl with cleaned beaters beat whites with a pinch of salt until they just hold stiff peaks and whisk one fourth into almond mixture.  Fold in remaining whites gently but thoroughly and spread batter evenly in pan.

Bake torte in middle of oven for about 50 minutes, or until it begins to pull away from side of pan and a tester comes out with moist crumbs remaining.  Cool on rack 5 minutes and then invert onto another rack.  Discard wax paper and cool torte completely.  Invert onto a plate.

A restaurant style presentation with a touch of mint & a chocolate wafer.
Try a lovely restaurant style presentation with a touch of mint & a chocolate wafer.

Torte may be made one day ahead and kept, wrapped well in plastic wrap, at room temperature.

Enjoy!


simply satisfying: Indian Sour Chickpeas

This is what I made for a “celebration of life” pot-luck dinner last Saturday.

adding the reserve mixture

Edna (the lovely woman who passed away) had quite the reputation for her love of cooking, doing it amazingly well and of course, she had a repertoire of recipes, many of them Indian.  We were requested to cook & bring one of her recipes.

rinsed & waiting
rinsed & waiting

I love Indian but hadn’t made a vegetarian Indian dish in a long time.  I must admit that this one didn’t sound especially appealing at first but trust me, the end result was so delicious….especially when all the flavors from the spices melded together.  The end result was more like a chickpea stew and you could taste the ginger and lemon which I love. It’s healthy too! I served it alongside cut up pieces of Naan bread.  I didn’t change a thing about the recipe (as I wanted to re-create it exactly as she had) but I think it would look nice with a few sprigs of cilantro sprinkled over top for garnish. Oh, when I went back to the buffet table for a second platter (remember, they were mostly her recipes) it had vanished.  So Enjoy!

After a bit of research I found out that the origin of this recipe is Delhi street vendor style.

Ingredients:

Use either ¾ lb. of dried chickpeas or 1 x 16 oz. can.  If using dried, cover them with water and bring to a boil, and let sit for an hour.  If using canned, rinse well and soak them overnight.

3 pints water (6 cups)

3 or 4 very finely chopped onions

2 ½ tsp salt

1 finely chopped hot chili

3 or 4 tbsp finely grated fresh ginger

4 tbsp lemon juice (from two small lemons)

1/3 cup cooking oil (preferably coconut, or canola)

2 or 3 chopped tomatoes

1 ½ tbsp ground coriander

1 ½ tbsp ground cumin

1 tsp turmeric

3 tsp garam masala (see recipe below)

½ tsp cayenne pepper

Bring peas and water to a boil, and let simmer till beans are tender, approx. one hour.  This is for both dried or canned.

It should look like this
The reserve mixture should look like this.

Meanwhile, mix 2 tbsp chopped onion, ½ tsp salt, chili, ginger and lemon juice in a small cup or bowl.  Set aside.

Heat oil in heavy pan on medium heat and add remaining onions, stirring and frying till they have reddish brown spots (about 10 minutes). Add tomatoes, stir and fry another 4 or 5 minutes. Add coriander, cumin and turmeric and stir and cook for about half a minute. Add drained chickpeas, about a cup of the cooking liquid, 2 tsp. salt, the garam masala and cayenne, stir and simmer very gently for about 20 or 25 minutes.

Add the reserved onion mixture and stir to mix. Serve hot or lukewarm.chickpea1TIPS:  onions should be soft & nicely browned.  It should turn out quite lemony & very well cooked.  I used a 19 oz. can of chickpeas for this and 1 red thai chili (but you can use any hot chili).

I made my own blend Garam Masala (a warming spice mix) from an Indian cookbook so I used that, but of course they sell it already packaged.  I just thought it would be cool to make my own.  Should you feel so inclined I’ll share the recipe:

Garam Masala from scratch:

8 Cardamon pods (remove the seeds from the cardamon pods).

2 Indian bay leaves (cassia leaves) – break them into small pieces.

1 tsp. black peppercorns

2 tsp. cumin seeds

2 tsp. coriander seeds

5 cm. (2 in.) cinnamon stick

1 tsp. cloves

Put everything into a spice grinder (or pestle and mortar) and grind to a fine powder.  Store in a small airtight container until needed.

Now make something to go with it.

Food board on Pinterest: http://www.pinterest.com/intrigueimports/foodsavour-taste-flavor-relish-palate-enjoyment/


simply satisfying – Blueberry Dutch Pancakes

Last summer two friends insisted requested I make this as part of their birthday brunch. Baked rather than cooked on the stove top, these Dutch pancakes emerge from the oven puffed up like balloons and then quickly deflate, making for a dramatic presentation at the table. blueberry - Copy Rich and eggy, with just a hint of lemon zest, they’re the perfect foil for sweet, fresh blueberries – preferably wild. I adapted this from Martha Stewart Living replacing whole milk with buttermilk, using maple sugar (or coconut) in place of granulated sugar and adding a tsp. of pure vanilla extract to the mix.  It’s not overly sweet.  When serving, a few extra blueberries and a sprinkling of icing sugar on top make for a nice presentation.  Don’t leave out the maple syrup.

To make four individual pancakes, you will need four little cast-iron skillets, 6 1/4 inches to 6 1/2 inches in diameter. You can use one 12-inch cast-iron skillet instead; it will take about 20 minutes to bake. If you’re able to get them, the little ones make a nice personal touch.

INGREDIENTS

  • 4 large eggs
  • 1 cup whole milk (or buttermilk)
  • 1 tsp. pure vanilla extract
  • 1 cup all-purpose flour
  • 1/4 cup granulated sugar
  • 1/2 teaspoon finely grated fresh lemon zest
  • 1/4 teaspoon salt
  • 2 tablespoons unsalted butter
  • 1 cup blueberries, plus more for topping
  • Confectioners’ sugar, for sprinkling

DIRECTIONS:

Preheat oven to 375 degrees.  Blend together eggs, milk, flour, sugar, vanilla, lemon zest and salt in a blender.

Heat either one 12 inch or four 6 1/4- to 6 1/2-inch cast-iron skillets over high heat. Divide butter among them, and melt. Divide batter among them, then scatter with berries. Bake until puffed and cooked through and tops are set, 15 to 20 minutes. Top with berries, and sprinkle with confectioners’ sugar. Serve immediately.

 If you love regular pancakes and crepes you should try making this for something a bit more unusual.

Simply Satisfying – dried limes

Yup, that’s it folks – one simple dried limes1ingredient….limes, but dried! 

Ha; did you think I ran out of recipes this week –  or am I just being lazy?  No, never! Actually I thought instead of sharing a new “IT” ingredient with you. That’s worth something isn’t it?

limes2I use freshly squeezed limes over so many things – fish, chicken, tortillas, ceviche, key lime pie of course & let’s not forget about margaritas (but that’s not really a food is it?).  I use lime zest over many things too. Now I want to try dried limes.  I’ll tell you why: the sourness of citrus with the tang of fermentation.

Not sure if this will surpass Kale, but in a quest to decipher what the new “IT” will be, about a zillion trendsetting chefs were consulted.  Among them, Boston’s Barbara Lynch (The Butcher Shop), NYC’s Amanda Cohen (DirtCandy), San Francisco’s Evan and Sarah Rich (Rich Table), and Austin’s Jodi Elliott (Foreign & Domestic).

Concensus was difficult (why be unanimous when you can be unique?), but there was one ingredient that popped out: dried limes, a classic Middle Eastern seasoning with a sour, aromatic tang and fermented undertones.

Pound them up and grind them, and you have a powder for a spice,” says Sara Jenkins of NYC’s Porsena.  “It brings a fresh brightness to anything,” adds Kim Alter of San Francisco’s Haven.

Though they look kind of like lumpy little rocks, dried limes actually have all kinds of uses as a flavoring. They are excellent used whole in soups and stews as well as lentil and bean dishes; when ground up, they’re great rubbed directly onto steaks or chops, or combined with other spices and a bit of oil to make a paste for rubbing on seafood.

First developed in Oman, dried limes are essential ingredients in the cooking of Iran, Iraq and the Gulf States. They also appear occasionally in northern Indian dishes. But unlike other once-exotic ingredients (preserved lemons and coconut milk come to mind), dried limes have remained well outside the mainstream pantry, even for more-adventurous American cooks. This is a shame. Dried limes turn out to be another one of those power ingredients that can transform a whole range of dishes with virtually no effort on your part.

The way they are produced could not be more straightforward: Small limes are boiled briefly in salt brine, and then they are laid out in the sun to dry over the course of several weeks.

In the Middle East, these limes are most often added whole to soups and stews. You simply wash them well, pierce them a couple of times with a sharp knife or a fork, and drop three of four of them into the pot. As the cooking liquid sluices through the limes, they add an evocative tang and a subtle complexity to the entire dish.  It definitely brings new life to whatever seafood you rub it on too.

In Vancouver you can buy them at South China Seas Trading Company – Granville Island.  This is where I buy my exotic spices & ingredients for Thai & Indian dishes.

both dkkkd
both whole & crushed are available in Middle Eastern shops or Online.


Simply EXOTIC – MUST LOVE CURRY

THAI Red Curry Paste from scratch

in food processor
in food processor

Love Thai Curry?  Red, Green & Yellow curry pastes are the base for most of the dishes in Thai cooking and the Red version makes for excellent chicken, beef, vegetarian, fish and other seafood curry.

You’ll never buy packaged curry pastes again once you try this recipe. Homemade curry paste makes for tastier curries, and they’re much healthier too!fish

This paste is courtesy of Chef Sarnsern Gajaseni at the Oriental Hotel in Bangkok.  It’s enough for at least two dishes, each serving about four people.  I’ve made double this amount and divided it up to freeze it, well labelled in separate containers.  It freezes very well and you’ll be able to easily use it with a few extra added ingredients (see recipe) to create a delicious curry.  If you like this one I’ll be posting the Green & Yellow versions which are slightly different but equally delicious.

using shrimp
using shrimp

Makes about 10 Tablespoons

10 to 12 hot dried chillies (of the long cayenne variety).  I use Thai red bird chillies.

5 garlic cloves, chopped

1 cup chopped shallots

1 Tbsp. fresh lemongrass that has been thinly sliced, crosswise.  Fresh lemongrass stalks have a knot at the very bottom.  Remove that before finely slicing, crosswise, and at a slight angle, starting at the bottom end and going up about 6 inches.  It will not blend unless it has been sliced first.

3 thin slices peeled, fresh or frozen galangal (or ginger). Galangal is fairly tough and needs first to be cut, crosswise, into thin slices, and then chopped before being put into the blender.

1 thin slice of fresh kaffir lime rind or dried rind, first soaked in water for 30 minutes.

6-8 cilantro roots (usually bought from Indian grocers), washed well and coarsely chopped.  If you cannot get them, use a small handful of the leaves for the required aroma.

Fresh ground white pepper

¼ tsp. shrimp paste or use either 2 anchovies from a can, chopped or a bit of anchovy paste.

½ tsp. ground cumin

½ tsp. ground coriander

2 Tbsp. bright red paprika

*most of these ingredients I buy from “South China Seas trading company” at Granville Island Market including the shrimp paste and palm sugar (for recipe).

How to:

Soak the chillies in 5 Tbsp. of hot water for 1-2 hours (or put them in microwave for 2 minutes and then let them sit for about 30 minutes).  Put the chillies together with their soaking liquid, into the blender, along with all the remaining ingredients in the order listed.  Blend, pushing down with a rubber spatula as many times as necessary, until you have a smooth paste.  What you do not use immediately should be refrigerated or frozen.

Fish in Red Curry Sauce

I used fillet of halibut for this one but you can use a variety of firm white fish or even shrimp.  The fillets should be cut into roughly 3-inch pieces.  Serve with plain aromatic jasmine rice which will be really nice to soak up the sauce.

14-ounce can of coconut milk, left undisturbed for 3 hours of more

3 Tbsp. peanut oil (if not use corn)

5 Tbsp. Red Curry Paste (which I hope you made but if not you can always buy it).

1 Tbsp. Fish sauce (there is no substitute but vegetarians will need to omit this ingredient).

1 tsp. thick tamarind paste (if not substitute with lemon juice).  Tamarind paste can be found usually at an Indian market.

1 tsp. palm sugar (if not use brown sugar).

1 pound firm white fish

4 fresh kaffir lime leaves (if not use 1 tsp. julienned lemon rind)

20 fresh sweet Thai basil leaves (if not use regular basil leaves)

Carefully open the can of coconut milk without disturbing it too much and remove 4 Tbsp. of the thick cream that will have accumulated at the top.  Stir the remaining contents of the can well and set aside.

Pour the oil and the coconut cream into a large, non-stick, lidded pan or well-seasoned wok and set over medium-high heat.  When the oil is hot, put in the curry paste.  Stir and fry until the oil separates and the paste is lightly browned.  Reduce the heat to low and add the fish sauce, tamarind paste, sugar and ¾ cup of water.  Stir and taste for a balance of seasonings.  Cover and simmer on a very low heat for 5 minutes.  Stir in the reserved coconut milk.  Lightly dust the fish pieces with salt and then slid them into the sauce in a single layer.  Bring to a simmer, spoon the sauce over the fish pieces, cover, and simmer very gently until they just cook through.

Just before serving, either tear up the lime leaves or else remove the central vein and cut them into fine strips, and scatter these and the basil leaves over the top of the fish.

**I have a flavorful recipe for a vegetable curry

thai eggplants
thai eggplants

using 4 Thai eggplant, 1 medium chopped onion, 1 cup of bamboo shoots, 6 ounces French cut green beans + 1 red pepper cut into strips.  You make it much the same way: Heat 1 Tbsp. of oil in a large wok or fry pan and then cook 2 Tbsp. of red curry paste for 4 minutes over a medium heat, stirring.  Then add 2 ½ cups of coconut milk, bring to a boil and simmer, uncovered for 5 minutes.  Add the chopped eggplants, bamboo shoots, and 6 lime leaves and simmer for 5 minutes.  Add the green beans & red pepper and cook for additional 5 minutes or until all vegetables are tender.  Add ½ cup basil leaves, 2 Tbsp. fish sauce (if using), 1 Tbsp. lime juice and 2 tsp. palm or brown sugar.   Drizzle with coconut milk, garnish with thai basil and sliced red chilli.  Serve with rice.

but you can substitute using Japanese eggplant

from curries to kebabas – recipes from the Indian spice trail” – everything in this enticing cookbook is outstanding.  Madhur Jaffrey even traces the origins of curry, explaining how the ingredients & techniques were brought to new lands. It’s unusual for me to make so many recipes from one book but each one turned out better than expected – and it took some of the mystery out of these exotic dishes.

One Pan Pasta – for the lazy gourmet

Here’s something you might not have thought of before but not only does it work – it works surprisingly WELL.  One-Pan Pasta!  (not to be confused with first cooking the spaghetti & tossing it in a pan of already made sauce a la Sopranos.  Are you kidding?  No need to over work yourself.

At the Start
At the Start

There’s a tiny restaurant in the Puglia region of Italy where the chef places dried pasta in a skillet with water, tomatoes, onion, garlic, herbs and a glug of extra virgin olive oil.

Then he cooks everything together and it has become their house dish ever since.

I had to try it out myself because it seemed way too simple and I wasn’t sure how everything would turn out.  So…

After laying out enough linguine for two people in a skillet, I added about 1 ½ cups of water – enough to just cover the pasta since there was no actual recipe.  I added the above ingredients but instead of putting in fresh tomatoes I just used a can of peeled plum tomatoes with the juice.  Also a bit of tomato paste as I thought there was a bit too much water at first, a sprinkling of hot pepper flakes & a squeeze of lemon.

Almost Ready
Almost Ready

Once the water had boiled away we were left with perfectly al dente pasta in a creamy sauce that coated every strand & tasted like something you would find in a restaurant in the tiny village of Puglia.

This is the perfect glamping dish, or for times when you don’t have too much time or just for those that love pasta (like me) and are always looking for new ways to cook it.

Tell me if you’ve tried this before.

Simple Grill Talk – Cuban Pork Chops

A very tasty Cuban marinade – serves four. 

cuban pork chops

CUBAN CUISINE contains African, Spanish, Italian and Caribbean elements.  The Cubans don’t follow any rules when cooking – the mixture of all possible tastes, smells and colors usually help to create little works of art.  Cuba does not have a great reputation for their food – at least for tourists.  I’ve been to Havana and found this to be true.  Their rum however is second to none and if you stick with drinking mojitos all day long you may not even mind how bad the food tastes.  The truth is if you’re lucky enough to be invited into a local home for a home cooked meal or go to one of the handful of local insider restaurants which happen to not be in the very touristy areas, you will be  pleasantly surprised. Together with the wonderful herbs and spices from the region – for example, chilli, oregano, onions, garlic, parsley, saffron, basil, etc. – there are no limits to the varied dishes.  Here is a simple and delicious marinade.

2 Tbsp. (30 ml) each frozen orange juice concentrate (somewhat defrosted), ketchup and molasses.  (I used spicy ketchup from the Mcilhenny Co. brand that makes Tobasco).

1 tsp (5 ml) each ground cumin and dried oregano leaves

¼ tsp (1 ml.) cayenne pepper

2 garlic cloves, minced

1 lime

1 Tbsp (15 ml) Extra-Virgin Olive Oil

4 centre-cut pork loin chops, each about ½ inch (1 cm) thickl

¼ cup (50 ml) coarsely chopped cilantro

In a bowl, stir concentrate with ketchup, molasses, dried seasonings and garlic.

Squeeze in juice from lime, then stir in oil.

Pour three-quarters of the marinade over chops and turn to evenly coat. Cover and let marinate in the fridge for at least one hour but best overnight.  Turn occasionally.

Refrigerate reserved marinade in a separate container.

Preheat barbeque, then adjust to medium heat.  Remove chops from marinade and discard marinade.  Place on grill.  Close lid and grill, about 12 to 15 minutes, turning once.

Brush with reserved marinade during the last five minutes of cooking time.  Remove to platter and sprinkle with cilantro.

Per Serving: 237 calories

Sides: I served this with cooked quinoa (in a vegetable broth) which was then mixed into a pan with caramelized onions, shallots, red pepper, green beans & cuban black beans.

Sweet yellow corn on the cob with cilantro/chili/lime butter & sea salt.

http://www.pinterest.com/intrigueimports/foodsavour-taste-flavor-relish-palate-enjoyment/

Casually Satisfying – Cast Iron Cooking

cast iron

A Cut Above

No wonder top chefs swear by this staple – it retains heat and cooks food evenly.  Plus, it can last a lifetime if you treat it properly (see 10 reasons to own one below).

Steak & Frites

Or mashed, boiled or baked.

This casual, simple and tasty meal adapted from a restaurant in Chicago calls for Flat Iron Steak but I’ve used it on other cuts like rib-eye and T-bone.  Let steak reach room temperature prior to cooking so the center won’t be cold.  After cooking, wait about five minutes before slicing to keep juices in.  Serves 4.  Pair with a hearty Shiraz or Cabernet – either will go well with this peppery steak.

3 Tbsp. olive oil, divided

1 tsp. each black pepper, smoked paprika, crushed fennel seeds and kosher salt.

4 flat iron (top chuck) steaks, about 1 ½ lb.

2 Tbsp. unsalted butter

Combine 1 Tbsp. olive oil with the seasonings.  Spread paste over both sides of steak.  Let sit 20 minutes.  Heat remaining olive oil and butter in large skillet over medium-high heat.  Cook steak 10-12 minutes, turning once or until instant-read thermometer registers 140F for medium-rare.steak  Slice & pour sauce over top.

Crispy Salt and Vinegar Potatoes

Use Yukon Gold and slice as thinly as possible.  Sprinkle with some sea salt & olive oil.

Spread on a cookie sheet and bake at 375F until cooked through and crispy – about ½ hour.  Toss with some malt vinegar and chopped chives.  Tip: Cook them as closely to serving time as possible so they don’t get soggy.

10 Reasons to Own a Cast Iron Skillet

1) Made of Iron. This thing is sturdy. You can drop it and it won’t be damaged. You don’t have to worry about scratching it or discolouring it (it’s black already you see). It’s possible that it can rust, but you can easily clean it. Cast iron skillets will take any and all abuse and still last forever. In fact, your skillet will probably outlast even you.

2) It Can Take The Heat. Most cookware comes with heat warnings. Even most stainless steel cookware isn’t supposed to go over 450/500 degrees in an oven. Cast iron? I mean… yea… eventually it’ll melt. But seriously you can cook on an open campfire with this thing. Try that with a non-stick pan. Oh wait. Don’t. I don’t want any lawsuits.

3) It’s Non-stick. Speaking of non-stick, cast iron skillets are non-stick if you season them correctly. Season your skillet by wiping it down with a thin layer of canola oil and then baking it in a 250 degree oven for about 90 minutes. Let it cool and wipe it down and this will be as good as any non-stick pan out there. Go ahead. Try a fried egg on it.

4) It’s a Grill. For the city folk, having a yard is not always an option. But because you can get a cast iron skillet really hot, it can effectively be used as a grill. For example, I cooked this steak in my cast iron and it was just as good as if it’d been cooked on a grill. Perfectly medium rare with a really nice crust.

5) It’s Economical. I think some people are actually turned off by cast iron because they think it’s cheap as in low quality. But the reality is that they just happen to be cheap to make which makes them economical, but not cheap. If you pay more than $40 for one, you are getting super-screwed. Not to mention that a lot of people sell perfectly good cast iron skillets at yard sales just because they don’t know how to season them.

6) It’s Versatile. You can make hundreds of completely delicious things in this one pan.

7) Save on Soap. Once your skillet is seasoned, it actually hurts it to wash it with soap. The soap will break up the tiny oil molecules that are embedded on the pan and make it not-so-non stick. It’s also possible that the next thing you cook it will have a slightly soapy taste to it! So save on the soap. If you need to scrub your cast iron pan, use salt!

8) It’s Vitamin Rich. This is a stretch, but since it’s made out of iron, a little bit of mineral iron does get transferred over during cooking.

9) Heat Distribution. This is maybe one of the most important reasons you should own one of these guys. People spend thousands on pots that evenly distribute heat. A cook’s nightmare is a pan with a really bad hot spot on it so half of your food is burned and the other half raw. Cast iron does such an amazing job of evenly distributing heat that you’ll never have this problem.

10) It’s Sexy. Call me crazy but I find these things kinda hot. There’s something rustic about them. Like a guy with a great beard. When you see someone working with a big heavy pan, it’s a turn on. Or at least… that’s what I tell myself.

The best way to care for your cast-iron pan

The trick to keeping cast iron in good shape: seasoning, a process that protects the metal from moisture (which can turn it rusty) and creates a non-stick surface.  Lightly coat the bottom of your skillet with vegetable oil, heat over a medium flame, then dry with paper towels while the pan is still hot.  The toast temp will help the porous metal absorb some of the oil.  Each time you use and season the pan, you will be reinforcing the non-stick surface.  When it comes to cleaning, steer clear of dish-washing soap, which can strip the coating.  Instead, just wipe down the pan with paper towels before it cools.  To loosen stuck-on-food or remove rust stains, heat the pan, cover the inside with oil and use a handful of coarse kosher salt, then scrub with an old dish towel.  Give it a quick rinse with hot water, and dry immediately.

kind of crazy
kind of crazy

Want something different for the person who has everything? Buy them a cast-iron pan in the shape of their  home state (obviously USA customers only).  You heard right.

Made-to-order cast-iron skillet at FeLion Studios, from $150/state – felionstudios.com

Allow up to eight weeks for delivery.

Follow my Food board on Pinterest:                                                                        http://pinterest.com/intrigueimports/gusto-taste-flavor-relish-palate-enjoyment/

Reasons taken from http://www.macheesmo.com