WORDS – for cheese lovers only

A bit about cheesecheese2

Cheese making (and eating) is believed to date back as far as 8000 BC.

Calling someone “THE BIG CHEESE” originally referred to the wealthiest, who could afford full wheels of cheese.

Most cheese is made from cow, sheep, or goat’s milk, but there is a farm in Sweden that makes moose cheese!

As soon as a cheese wheel is cut, the aging process stops, so the cut cheese does not get better with age.  Buy only what you will consume in a few days for the freshest-tasting cheese.

While you can safely cut mould off the outside of a hard cheese, any fresh cheese with mould on it should be thrown out. An ammonia (a by-product of the cheese-making process) smell does not necessarily mean the cheese is spoiled.  Taste the cheese to make sure it is still fresh.

Hard cheeses are pressed during the cheese making process to remove as much moisture as possible.  For this reason they keep much longer than soft cheeses.

Fresh cheeses such as ricotta, burrata, and cottage cheese should not have much of an aroma – if they have a strong smell, they are likely spoiled.  These should be kept for a maximum of 7-10 days.

Proper Storing: store soft cheese in waxed paper, and be sure to press the paper right against the runny part of the cheese (known as the “paste”).  This allows moisture to evaporate, but maintains the humidity in the cheese.  Then place the wrapped cheese in a loose plastic bag or in plastic wrap.  Cheese is a living and breathing thing, so it needs air.  Cheese paper is specifically made to maintain partial air and moisture, but waxed or parchment paper will also do the trick.

As cheese sits, its moisture collects at the bottom.  Soft cheeses should be turned over every few days to distribute the moisture and oil content.

 A TUROPHILE is a connoisseur of cheese. It can also be for a lover of cheese, therefore I am a Turophile.

I love them hard & soft!
I love them both hard & soft!


Beauty biz – from your PANTRY

Skincare that you can literally eat…..

from my pantry
from my pantry

Double Duty Beauty. From the oatmeal you eat for breakfast to the turmeric in your curries, these kitchen ingredients  can work wonders for various skin issues.


Such as….

Eczema:

Worth a try: Coconut Oil

Eczema is an immunological abnormality of the barrier of the skin being deficient. Skin affected by eczema is very dry, red and itchy.  Restoring moisture is key, and coconut oil is an excellent moisturizer.  It acts as a shield on the epidermis.  While some moisturizers and face oils contain coconut oil, you can apply the oil – which can be purchased at health food (and most grocery) stores straight to skin using your fingertips.  You can also layer your regular moisturizer on top of coconut oil.  Side note: a brow threader said that we can apply coconut oil to help grow the hairs back on eyebrows.

Rosacea:

Worth a try: Oatmeal

Brimming with Vitamin A and E, oatmeal is an anti-inflammatory powerhouse that helps calm irritated skin.  It’s also packed with skin-soothing starches and beta-glucans which provide a protective barrier for the skin.  Oatmeal that is featured in commercial redness-fighting beauty products is usually the colloidal variety (meaning it has been ground into an extremely fine powder). But you can use regular oatmeal for a homemade mask.  Mix ¾ cup (175 ml) of dry oatmeal with ¼ cup (75 ml) of warm water to get a nice, thick paste, and then smooth it onto your face.  The mask may not look pretty, but it should feel quite soothing.  Once it dries, it will feel itchy – your cue to remove it by rinsing with cold water.

Hyperpigmentation:

Worth a try: Tumeric

Darkened areas on the skin, called hyperpigmentation, can be a sign of internal inflammation.  At the root is a biomarker called NF-kappaB (according to Gaetano Morello, a Vancouver naturopathic doctor) which is produced in the body.  The more NF-kappaB in your system, the more inflammatory reactions you have.  Curcumin, the active ingredient in the spice turmeric, reduces NF-kappaB when taken orally.  And a recent study cited in the Australian Journal of Herbal Medicine concluded that “curcumin” has the potential to be used as a whitening agent in treating hyperpigmentation disorders.  In the study, consuming curcumin was found to significantly reduce the melanin content in melanin-producing skin cells.  While curcumin extracts are most effective (for instance, in the form of a capsule), there is no question that consuming turmeric – and lots of it – daily has positive benefits for those affected by hyperpigmentation.  This according to Dr. Morello.

Acne:

Worth a try: Manuka Honey

I did not do my homework when I asked my sister to bring some back for me from her recent trip to Hawaii.  I thought it was from there, but it’s actually derived from a plant native to New Zealand and Australia.  It is thick and slightly bitter with powerful antibacterial properties.  The bacterium that causes acne, (propionibacterium acne) is very sensitive to the antibacterial activity of manuka honey.  Research shows that Manuka has a more powerful anti-inflammatory activity than other types of honey.  Its unusual antibacterial activity can diffuse across skin and get down into the infection that is causing the acne spots, according to Peter Molan, a professor in biological sciences at the University of Waikato in New Zealand.  Molan recommends soaking the pad of an adhesive dressing in the honey and placing this on a single pimple or a small area of pimples.  For wide-spread acne, he recommends blending manuka honey with coconut oil (one third honey to two thirds coconut oil); for example 1/3 Tbsp (5 ml) to 2/3 T (10ml), which makes for a healing skin cream.  Manuka honey can be purchased at many health food stores, and is typically more expensive than regular honey.  It also tastes great on toast, in teas or in yogurt.

For the Body: 

Coffee body Scrub – caffeine tightens loose skin, so this scrub acts as an instant slimmer and also helps to slough off dead skin cells to create smoother skin. Recipe: ¼ cup raw sugar, ¼ cup ground coffee, 1 Tbsp. olive oil, 2 Tbsp. coconut oil, 1 Tbsp. sea salt. Blend all ingredients and place in an air-tight container.  Keep in the fridge.

Disclaimer: Just want you  to know that I don’t keep all of these food items to use only for my skin.  I also enjoy eating them.  The Girl Who Would be KING.

Credit for recipes: Stacey Stein for best health magazine


food: Fantastic Frittata for Friends

For a perfect brunch try this sophisticated, no-frills recipe that can feed a few in no time.

Cast Iron is great for this
Cast Iron is perfect for making this

Courtesy of Sarabeth Levine, the jam-making pastry chef, and restauranteur behind N.Y.C.’s beloved Sarabeth’s Kitchen, who swears by this one.  “Always aim for a dish that’s easy to serve,” “Cold scrambled eggs are never acceptable, but a frittata can be warm or room temperature and still be delish.” I’ve tried her recipe which makes 4 to 6 servings and can attest that it is indeed a winner! It’s a bonus that Gruyère  & Goat happen to be two of my favorite cheeses.  A side salad will round out this meal beautifully.

Two-Cheese Frittata with Arugula

12 large eggs, beaten (this is why you want at least 4 people)

2 Tbsp. unsalted butter or olive oil, divided

1 cup packed arugula

3 oz. Gruyère  cheese, coarsely grated

3 oz. goat cheese, broken into small pieces.

Position rack in center of oven; preheat to 350F.

In a large bowl, whisk eggs.  In a 10-inch nonstick ovenproof skillet, heat 1 Tbsp. butter over medium heat.  Add arugula; cook for 1 minute.  Add remaining butter and eggs; immediately reduce heat to medium-low.

Cook for 8-10 minutes until bottom sets and top is partially set.  Sprinkle on cheeses; let edges set (1-2 minutes).  It should look shiny and uncooked on top, with cheeses still unmelted.

like this
just like this

Bake in oven for 8 minutes, until cheeses melts and frittata puffs slightly.

Cut frittata into wedges, serve with side salad which we suggest sprinkling with toasted sunflower seeds. EAT.

Check back here Sunday to find out some interesting facts about Cheese in the “words” post. For instance, I found out that I’m a TUROPHILE.  It sounds like a bad thing but it’s really not.

Simply Satisfying – Vegan Chocolate Chip / Coconut Cookies

20140321_121356These vegan friendly cookies are yummy enough for non-vegans too.  They do not include the usual suspects (dairy such as  butter, or eggs) nor refined sugar and all-purpose flour that are commonly used to make cookies.


They include:

1 cup instant oatmeal (or rolled oats)

½ cup coconut flour

½ cup whole wheat pastry flour

½ tsp. baking soda

¼ tsp. fine seasalt

Sprinkling of ground Cinnamon (about ¼ – ½ tsp.)

¾ cup firmly packed dark brown sugar (I used organic dark cane)

1/3 cup canola oil

¼ cup almond milk (I used the unsweetened version)

2 tsp. pure vanilla extract (or 1 ½ tsp. & ½ tsp. of almond extract)

½ cup vegan semisweet chocolate chips (like Sunspire – veganstore.com)

½ cup of unsweetened coconut flakes (optional)

Note: For my first batch I used a combo of Ghirardelli milk & semi-sweet chocolate chips that were on hand.

Preheat oven to 350 F.  Line two baking sheets with parchment paper.

In a large bowl, whisk together oatmeal (or oats), pastry flour, coconut flour, baking soda, cinnamon & seasalt.

In a medium bowl, whisk together brown sugar, oil, almond milk, vanilla (or combo of vanilla & almond extract); pour mixture into the batter and stir until combined.  Stir in chocolate chips and coconut flakes.

For each cookie, drop 1 Tbsp. (or 2 Tbsp. for bigger cookies) of dough 2 inches apart onto the baking sheets.  Note: Some of the dough might fall apart as you try to drop it – just roll it in your hands a little to shape it before putting it back on the sheet.  It will still bake okay.

Bake for about 15 minutes. Let them cool slightly before moving them to a plate or tray.  ENJOY these delicious guilt free cookies.

You can try substituting peanut butter instead of the coconut flakes or even adding a bit of natural peanut butter to the mix.  I haven’t tried this yet but it definitely sounds good.

Do you have a great vegan cookie recipe you’d like to share?


Simply Satisfying – Panko Baked Chicken Fingers

pankochicken4These are a healthier alternative to the chicken fingers that are served in restaurants and they taste great. These are good the next day, too & make a tasty snack or appie.

Ingredients:

1/2 tsp (2 mL) Dijon mustard
2 egg whites
2 cups (500 mL) panko (Japanese-style bread crumbs)
1/2 tsp (2 mL) paprika
1/2 tsp (2 mL) dried parsley
1 tsp (5 mL) lemon zest
Pinch each salt and pepper
2 chicken breasts (650 g total), cut into 16 1-in.-thick strips

Preheat oven to 400°F. Spray a baking sheet with non-stick cooking spray. In a bowl, whisk Dijon mustard with egg whites. In a second bowl, mix together bread crumbs, paprika, parsley, lemon zest, salt and pepper. Dip chicken in egg whites and then bread mixture, and place on baking sheet. Repeat till all strips are coated. Bake for 12 to 15 minutes until cooked through.

Makes 16 chicken fin­gers. Each: 100 calories, 12 g protein, 1 g fat (0 g sat­urated fat), 10 g carbo­hydrates, 1 g fibre, 24 mg cholesterol, 142 sodium.

Spicy Peanut Dipping Sauce

Ingredients:

2 Tbsp (30 mL) smooth peanut butter

¼ cup (60 mL) hot water

1Tbsp (15 mL) lime juice

1 Tbsp (15 mL) low sodium soy sauce

1 tsp. (5mL) Tabasco

Pinch each ground ginger, cumin, salt and pepper

Having a couple of extra dipping sauces on hand like sweet chili & honey mustard will give guests a variety to choose from and are a nice accompaniment to the fingers.


Recipe taken from Best Health Magazine


Simply Satisfying – homemade Soy Chai Latte

soygood1This comforting drink which is an integral part of Indian life is perfect to help soothe your immune system.  I love soy chai lattes best (but you can use regular milk if you prefer) although I’m usually disappointed when ordering one in a restaurant.  They always seem to lack something so this recipe is good to start off with as you can adjust the spices to taste.  All these spices are easy to find.  I hope you enjoy it.chailatte2

3 cups (750mL) of soy milk

3 Tbsp. (45mL) loose black tea

2 in. (5 cm) cinnamon stick

1 in. (2.5 cm) ginger root, peeled and sliced

2 tsp. (10 mL) honey

¼ tsp. (1mL) black peppercorns

6 whole cloves

4 cardamon seeds

Pinch of Allspice

1 star anise

Pinch of freshly grated nutmeg

A little vanilla bean (or vanilla extract)

Whipped Cream (optional)

Combine all ingredients except whipped cream in a saucepan, preferably one with a spout, and bring to a simmer.  Stir to blend flavors. Simmer gently for 1 minute then turn off heat.  Leave pan on burner and let steep for 5 minutes.  Strain into mugs and serve with a dollop of whipped cream if you wish.  If so, sprinkle top with a bit more cinnamon (for presentation) and put a cinnamon stir stick into the cup.  Serves 4.

spices
Spices: before this, I used to gather them all into a cheesecloth, tie it up, put it in a mug and then pour hot water over top – like a teabag.

Have you tried making this before?

simply satisfying – Blueberry Dutch Pancakes

Last summer two friends insisted requested I make this as part of their birthday brunch. Baked rather than cooked on the stove top, these Dutch pancakes emerge from the oven puffed up like balloons and then quickly deflate, making for a dramatic presentation at the table. blueberry - Copy Rich and eggy, with just a hint of lemon zest, they’re the perfect foil for sweet, fresh blueberries – preferably wild. I adapted this from Martha Stewart Living replacing whole milk with buttermilk, using maple sugar (or coconut) in place of granulated sugar and adding a tsp. of pure vanilla extract to the mix.  It’s not overly sweet.  When serving, a few extra blueberries and a sprinkling of icing sugar on top make for a nice presentation.  Don’t leave out the maple syrup.

To make four individual pancakes, you will need four little cast-iron skillets, 6 1/4 inches to 6 1/2 inches in diameter. You can use one 12-inch cast-iron skillet instead; it will take about 20 minutes to bake. If you’re able to get them, the little ones make a nice personal touch.

INGREDIENTS

  • 4 large eggs
  • 1 cup whole milk (or buttermilk)
  • 1 tsp. pure vanilla extract
  • 1 cup all-purpose flour
  • 1/4 cup granulated sugar
  • 1/2 teaspoon finely grated fresh lemon zest
  • 1/4 teaspoon salt
  • 2 tablespoons unsalted butter
  • 1 cup blueberries, plus more for topping
  • Confectioners’ sugar, for sprinkling

DIRECTIONS:

Preheat oven to 375 degrees.  Blend together eggs, milk, flour, sugar, vanilla, lemon zest and salt in a blender.

Heat either one 12 inch or four 6 1/4- to 6 1/2-inch cast-iron skillets over high heat. Divide butter among them, and melt. Divide batter among them, then scatter with berries. Bake until puffed and cooked through and tops are set, 15 to 20 minutes. Top with berries, and sprinkle with confectioners’ sugar. Serve immediately.

 If you love regular pancakes and crepes you should try making this for something a bit more unusual.

Simply Satisfying – Really good Roast Chicken

PAPRIKA-RUBBED CHICKEN with ROASTED GARLIC

 roastchicken1This is a truly comforting dish for this time of season. Sweet, smoky paprika meets the mellow richness of roasted garlic in this perfectly spiced bird. Roasting the chicken at a lower temperature than most achieves a crisp skin without burning the paprika.

  • 2 tablespoons smoked paprika
  • 1 teaspoon dried oregano
  • Coarse sea salt
  • 1 whole (3-4 lb.) chicken
  • 1/8 cup plus 2 tablespoons extra-virgin olive oil
  • ¼ cup chicken stock (made from bouillon – I recommend organic “better than”)
  • 8 heads garlic, halved horizontally
  • fresh squeezed lemon juice from ½ lemon

DIRECTIONS

STEP 1

Preheat oven to 450 degrees. Mix together smoked paprika, oregano, and 1 tablespoon of salt. Place chicken, breast side up, on a rimmed baking sheet or dutch oven, and tuck wings under. Tie legs of each bird together with kitchen twine. Pat dry with paper towels. Rub skin with 1 tablespoon oil, then with paprika mixture. Stuff 2 garlic-head halves into each cavity.

STEP 2

Reduce oven temperature to 400 degrees. Roast chicken for 20 minutes. Remove from oven, and baste with pan juices. Scatter remaining garlic-head halves around chicken; add small potatoes cut in half, carrots, chopped leeks (white part only) and onion cut into quarters. Drizzle garlic and veggies with remaining 1/8 cup olive oil and ¼ cup ready-made chicken stock, then turn cut side down on sheet. Squeeze lemon over top. Roast for 10 minutes. Tent bird loosely with foil. Turn oven to 375 degrees. Roast until juices run clear and an instant-read thermometer inserted into the thickest part of thigh reaches 165 degrees, about 45 minutes more. Remove chicken to platter and let rest for 10 minutes before serving.  Remove garlic and veggies but keep warm. In the meantime you can make gravy (optional) by putting dutch oven over high heat on stovetop (or if using a baking sheet, pour liquid into a pot) and whisk in more stock if needed and to thicken add flour or an instant gravy thickener (like Savoie’s Instant Roux).  Add spices if needed.

SOURCE

Recipe adapted from Martha Stewart Living

Simply Satisfying – Superfood Salad in Citrus Ginger Vinaigrette

This has become one of my favorite salads that is like a meal on it’s own.quinoa3

Quinoa (pronounced KEEN-wah)—a tiny little seed with an ancient history—packs a big nutritional punch: It’s high in protein and nutrients with anti-inflammatory properties, which is likely why it sustained people in South America’s Andes mountains (where quinoa grows best) for so long. Quinoa has a mild, slightly vegetal flavor and cooks up fluffy, like couscous, but is still slightly crunchy.  In this recipe we mix it up with healthy greens, nuts and a bit of dried fruit for a fulfilling and nourishing salad that will make a perfect lunch.

Ingredients

1 cup cooked quinoa (see directions on package).  You can also use a mix of sprouted brown rice.

½ cup each of the following: chopped kale, broccoli, cabbage, grated carrot (optional).

Add to your liking about ¼ cup of roasted pumpkin seeds, sunflower seeds, dried cranberries, sundried tomatoes, chopped kalamata olives.

Preparation

1. Using fine-mesh sieve, rinse quinoa well (if the quinoa isn’t pre-rinsed). In small saucepan, combine quinoa with 1-3/4 cups water or chicken/veggie stock; bring to a boil. Reduce heat, cover and simmer until quinoa is translucent and all of the water has been absorbed, about 20 minutes.

2. Remove pan from heat; with fork, fluff quinoa. Let cool slightly. Gently stir in cranberries.

3. Mix into a large bowl all ingredients together.

4. For the vinaigrette, whisk together orange zest, orange juice, lemon juice and ginger. In thin steady stream, gradually whisk in oil. Whisk in salt an pepper.

5. Gently toss salad with vinaigrette until well coated.  Top with shredded cheese of your choice.

  • Citrus Ginger Vinaigrette:
  • 1 tbsp  (15 mL)  grated orange zest
  • 2 tbsp  (30 mL)  fresh orange juice
  • 2 tbsp  (30 mL)  fresh lemon juice
  • 1 tsp  (5 mL)  grated fresh ginger
  • 1/4 cup  (60 mL)  extra-virgin olive oil
  • Pinch each course sea salt and pepper

Of course this vinaigrette is only a suggestion – one of many.  Lemon poppyseed and sesame ginger are also excellent. Adding blueberries is nice too, especially in summer.

you can add corn & rinsed black beans for another version
Add corn & canned, rinsed black beans for another version

Do you have a favorite Quinoa Salad Recipe you’d like to share?

Sweetly Satisfying – & salted Chocolate Chip Cookies

A perfect Valentine’s Day treat with a balance of sweet & salty in very bite.  If you love a great chewy chocolate chip cookie then this recipe is for you.

Cookies

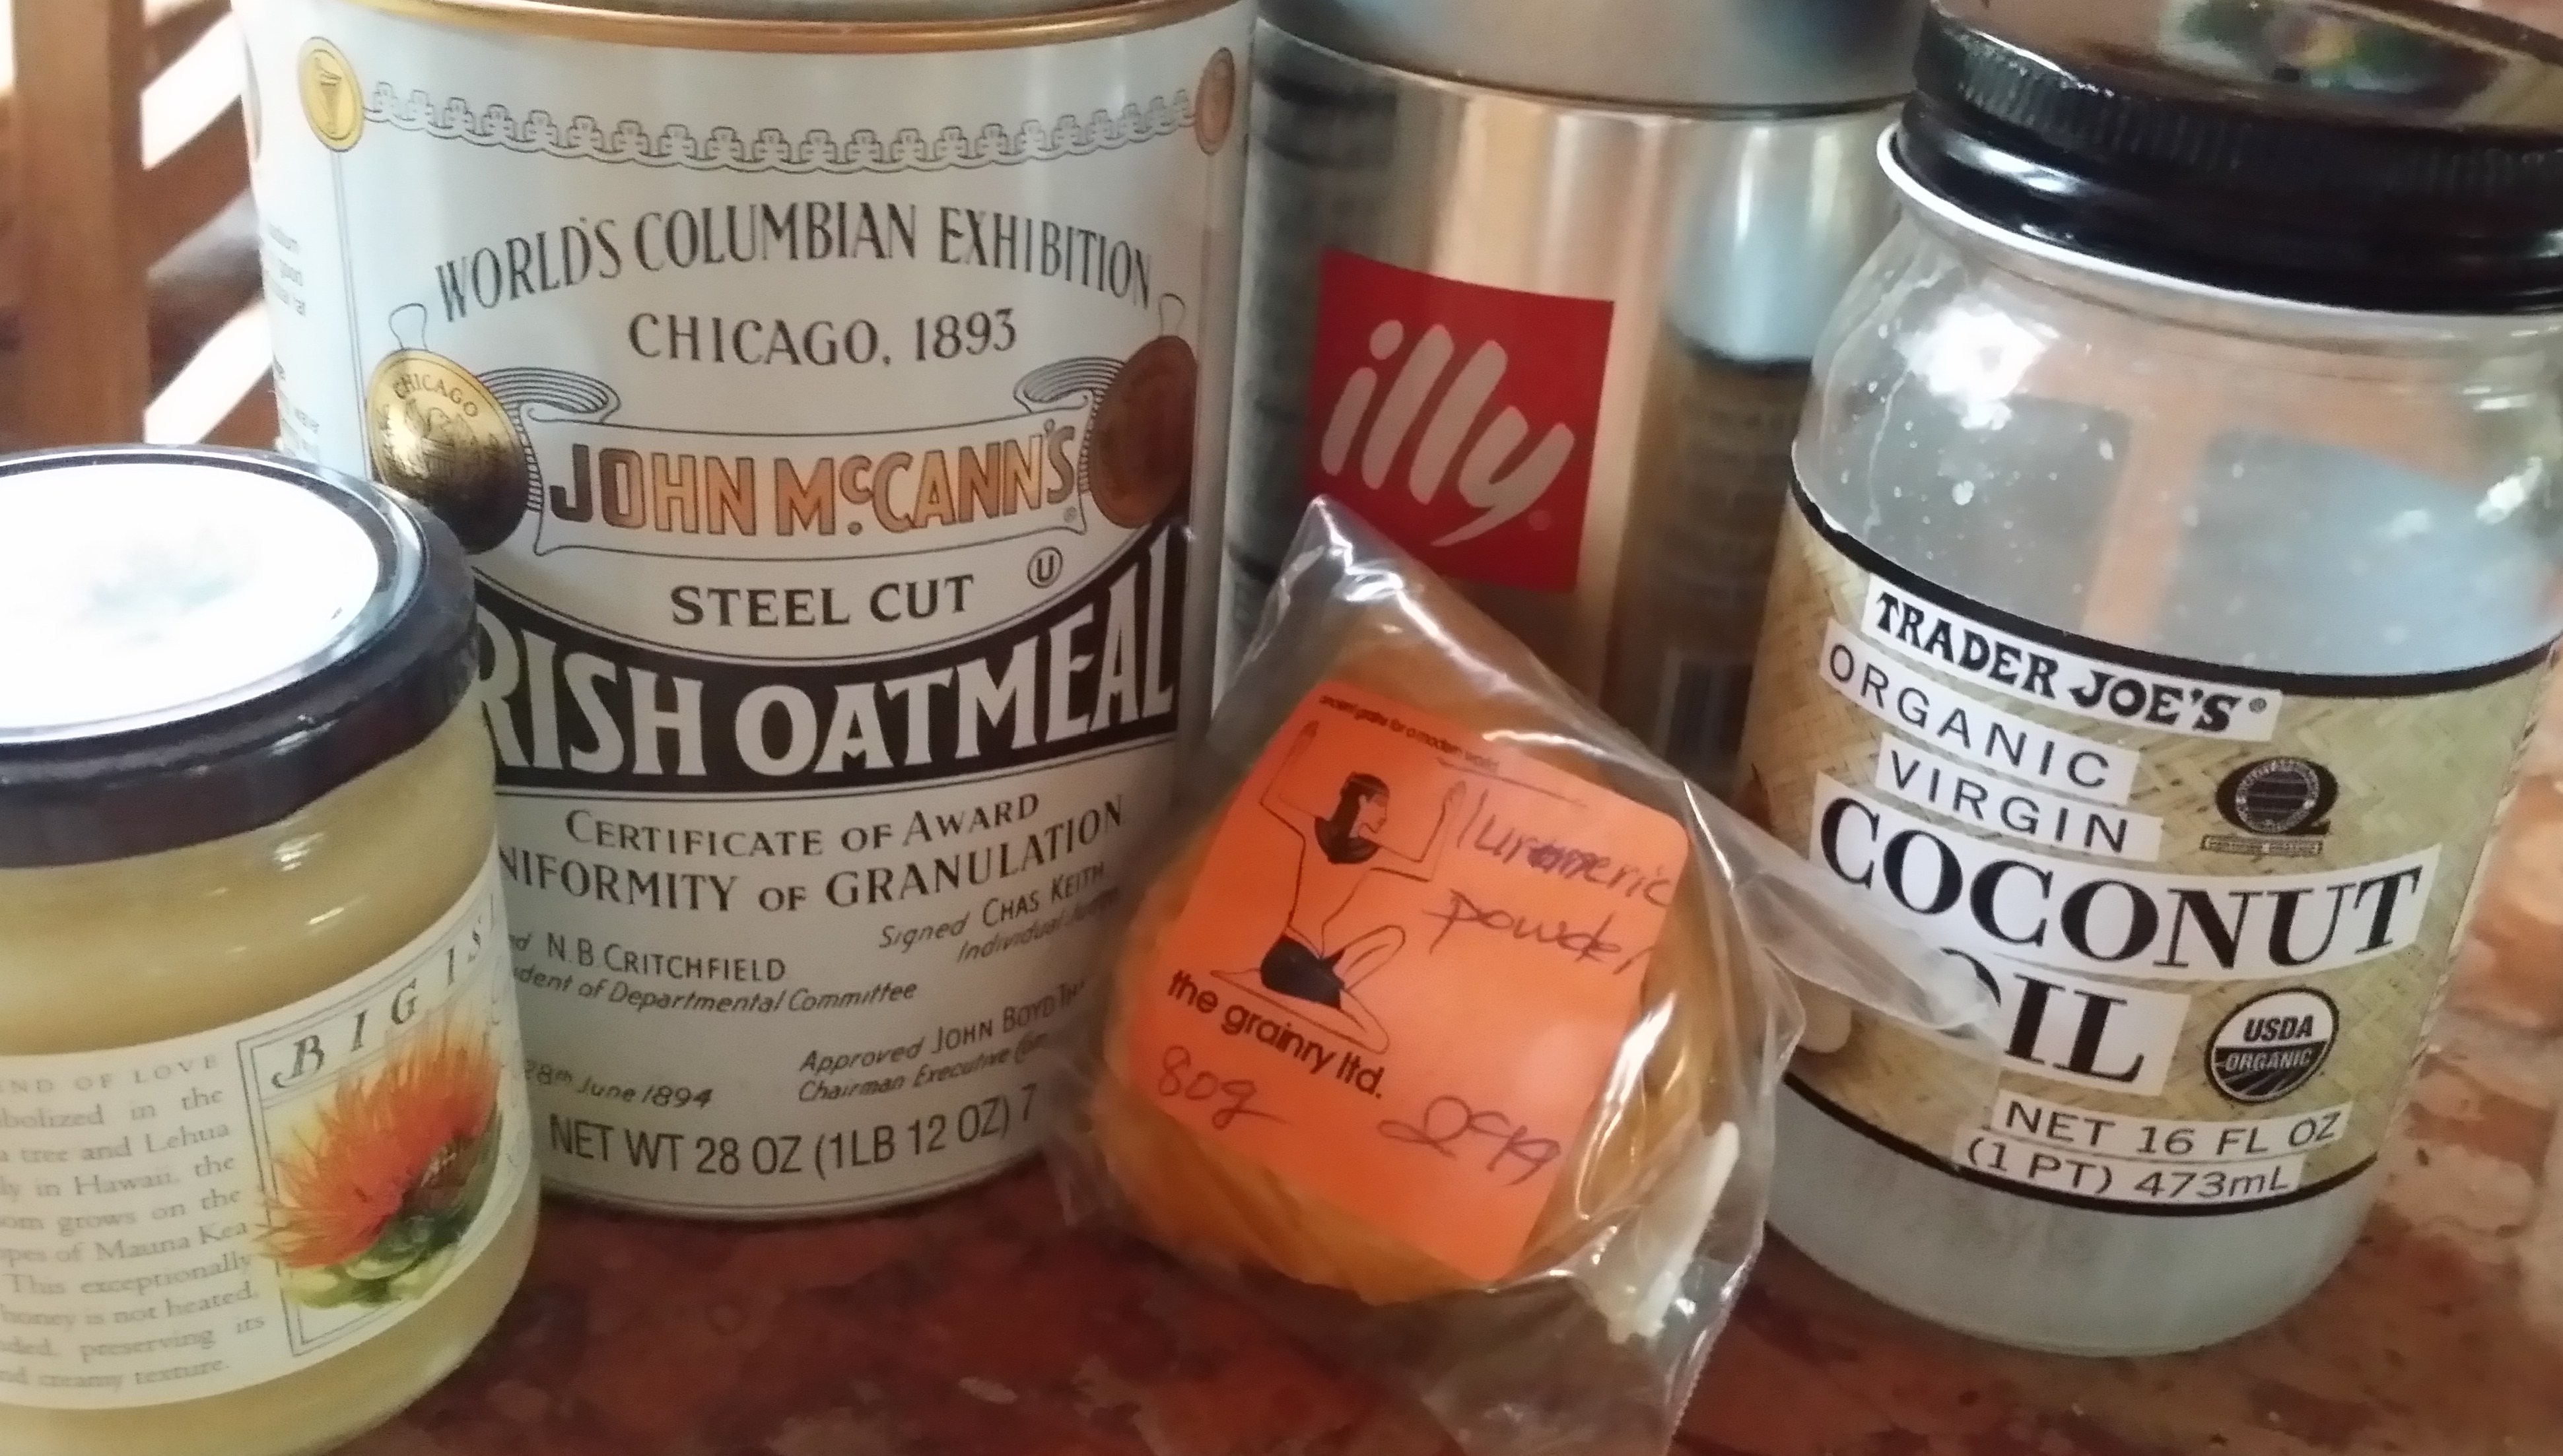
This is better than the average chocolate chip cookie recipe because of a few changes to basic ingredients.  The sugars are a combo of organic brown, *coconut and cane.  Usually I don’t add any nuts but this time I added some chopped macadamia nuts for deliciously added crunch. Then some extra vanilla in the form of pure vanilla bean paste and sprinkled the tops of each cookie with lavender sea salt just before baking (but any sea salt is good).  My hand mixer wasn’t working properly which resulted in having to manually mix most of the ingredients….which turned out surprisingly good (as over mixing is not recommended especially when adding dry ingredients).

Ingredients:

2 cups all-purpose flour

1 tsp salt

1 tsp baking soda

1 cup (2 sticks) butter, at room temperature (try using one stick of unsalted & one salted).

1 cup sugar  (I like using a combo of organic cane and coconut sugar). *Coconut sugar is more nutritious and lower on the glycemic index than regular sugar.

2/3 cup packed light brown sugar

2 tsp. pure vanilla extract

½ tsp pure vanilla bean extract (optional)

2 large eggs

2 cups of chocolate chips or chunks (try using a combo of the best quality you can find of bittersweet, milk, semisweet & white).  *I drizzled some melted dark chocolate over top for added punch (optional).

Go Nuts: ½ – 1 cup (depending on how much you like nuts) of finely chopped walnuts, pecans or *macadamia. (optional)

Sea salt flakes, for sprinkling on top.

Directions

Center one of the racks in the oven; preheat to 350 F.   Line two baking sheets with parchment paper.  Whisk together flour, salt, and baking soda.  Working with a stand mixor (preferable fitted with a paddle attachment) or hand mixor in a large bowl, beat butter and sugars on medium speed for about 3 minutes until well blended.  Beat in vanilla.  Add eggs, one at a time, beating for 1 minute after each addition.  Reduce mixer to low; add dry ingredients in three portions, mixing only until each addition is incorporated (don’t overmix).  By hand or with rubber spatula mix in chocolate and nuts.  Spoon dough in slightly rounded tablespoons onto baking sheets, leaving about 2 inches between each cookie.  Sprinkle with sea salt.

Bake cookies rotating sheets and switching position from top to bottom at the midway point (about 8-10 minutes is halfway), or until they are brown and the edges are golden in the center.  They may still be a little soft in the center, and that’s fine.  Remove from oven and allow cookies to rest 1 minute, then carefully transfer them to racks or cookie tray to cool, using a wide metal spatula.  Repeat with remaining dough, cooling baking sheets between batches.

The cookies can be kept in a sealed container for about 4 days or wrapped airtight and frozen for up to two months.

TIPS:

1)       all recipes call for unsalted butter at room temperature. I keep the butter cold in the fridge until a short time before mixing and cut it into little cubes.  Apparently Mrs. Fields makes her cookies like that so now I do too.

2)       Rest dough before baking by leaving batter in the fridge for up to 24 hours.  It allows the flavors to meld and the sugars to become more like molasses.  You can also freeze half or all of the batter.

3)       Use a lower temperature and leave them cook a bit longer than recipe calls for (if it calls for 375F, use 350F.  If it calls for 350F, use 325F).

4)       Never place your batter on a warm cookie sheet.  Instead, let it cool between batches.  A hot sheet causes the dough to melt before it goes into the oven, which tends to uneven baking, compromising the texture.

5)       If your cookies are a little too crispy you can always put a piece of bread in the cookie tin – this will help soften them.

Makes about 40 cookies